How to Learn Photography on Your Own: 8-Week Plan
 by Marco Carotenuto · · 9 min read
You own a camera, you’ve saved a pile of tutorials, and you feel like you know a lot without your photos getting any better. That’s where many people stall. Everything you need to learn photography on your own is already out there; what’s missing is an order to learn it in and a way to check whether you’re improving.
This article gives you both: an eight-week plan, one topic at a time, with a hands-on assignment each week and a fixed weekly review that partly stands in for the teacher you don’t have. It isn’t a degree program. It’s the path we’d suggest to anyone starting from scratch with roughly three hours a week.
Can you really teach yourself photography?
Yes. The technical basics can be self-taught, and plenty of photographers have done exactly that. Exposure, focus and composition are explained well in camera manuals and in free guides such as Canon’s beginner guide.
What’s harder to get on your own is feedback. A teacher tells you why a photo doesn’t work; alone, you can repeat the same mistake for months without seeing it. On our photography tours we often meet photographers with years of experience who still repeat a basic mistake, like a horizon always dead center or a background they never check, simply because nobody ever pointed it out. The plan below is built to reduce that risk: every week ends with a written review.
Where do you start from zero?
Start with the camera you already own, even a phone, and two fixed commitments: one topic at a time, and a review at the end of each week. Before week 1, do two things:
- Read the part of your manual on shooting modes, exposure compensation and focus points. Skip the rest for now.
- Pick five photos you’ve already taken and save them in a “week 0” folder. That’s your baseline: at the end of the plan you’ll compare it with your new work.
Don’t buy anything. A new lens won’t fix a problem you can’t name yet. When, a few weeks in, you can say “I need a blurrier background” or “I need a longer focal length”, that’s the time to think about gear.
How does the 8-week plan work?
Each week has one topic, one assignment with a specific constraint and the same rhythm: about 30 minutes of study, two 45-60 minute shoots and a 30-minute review. The order runs from the technique that makes a photo readable to the choices that make it interesting.
| Week | Topic | Key assignment | Read first |
|---|---|---|---|
| 1 | Exposure | Same scene at -1, 0 and +1 compensation | Exposure triangle |
| 2 | Sharpness | Find your handheld shutter speed limit | Why your photos are blurry |
| 3 | Depth of field | Same subject wide open and stopped down | Depth of field |
| 4 | Light | One object, three light directions | Light in photography |
| 5 | Composition: the subject | Ten frames of one subject, moving only your feet | Photography composition |
| 6 | Composition: viewpoint | Three heights, one line, one frame | Composition exercises |
| 7 | RAW and basic editing | Five photos, five adjustments at most | RAW vs JPEG |
| 8 | Culling and a mini series | Five photos on one theme, chosen from many | How to cull photos |
This sequence is our own editorial proposal, not an industry standard. You can swap some of the middle weeks, but don’t skip the first two: if exposure and sharpness aren’t under control, technical errors will muddy every later assignment.
What do you do each week?
You do one assignment that isolates a single variable, so the result tells you clearly what caused the difference.
Week 1, exposure. Set aperture priority (A or Av): you choose the aperture, the camera works out the shutter speed. Shoot the same scene at -1, 0 and +1 exposure compensation and check the histogram after each frame. If the graph is pressed hard against the right edge, the highlights are probably clipped, and that detail usually can’t be recovered. Our histogram guide shows you how to read it.
Week 2, sharpness. Switch to shutter priority (S or Tv) and, handheld, photograph a still subject, ideally indoors or in shade, while lengthening the shutter speed one step at a time until you see blur at 100% zoom. The last sharp speed is your practical limit at that focal length; note whether stabilization was on. Then use a single focus point and place it yourself on the detail that must be sharp, instead of letting the camera choose (autofocus modes).
Week 3, depth of field. Put a subject about two meters (six or seven feet) away, with the background much farther back. Shoot at your widest aperture (the smallest f-number) and then at f/8. The background changes: the wider the aperture, the blurrier it gets. Repeat from closer to the subject: getting closer also reduces depth of field. If you’re curious how focal length affects the background, read up on focal length.
Week 4, light. Place an object near a window and photograph it with the light in front, to the side and behind, turning the object or moving yourself. Side light reveals shape; front light flattens it. Then go out once at sunrise or sunset and once in the middle of the day, and compare the shadows (hard vs soft light).
Week 5, the subject. Choose a simple subject, a tree or a doorway, and take ten frames moving only your feet: get closer, step sideways, change distance. Before each frame, answer one question: where does the eye go first? Try placing the subject on a third and moving the horizon off center (rule of thirds).
Week 6, viewpoint. Shoot the same scene from three heights: eye level, waist level and a few inches off the ground. Then find a line that leads to the subject and a natural frame, like an arch or branches. The goal is the habit of searching for the frame before you press the shutter.
Week 7, RAW and editing. If your camera or phone allows it, shoot RAW. Edit five photos using no more than five adjustments: straighten and crop, exposure, highlights, shadows, white balance. Then stop. RAW keeps more information than JPEG, so it gives you more latitude on exposure and color, but it doesn’t replace a well-considered shot.
Week 8, culling and a mini series. Pick a theme close to home (a market, your street, the light in your kitchen) and shoot it over two outings. Then choose five photos that work together: same light or same mood, no repeats. Culling is a skill to train just like shooting.
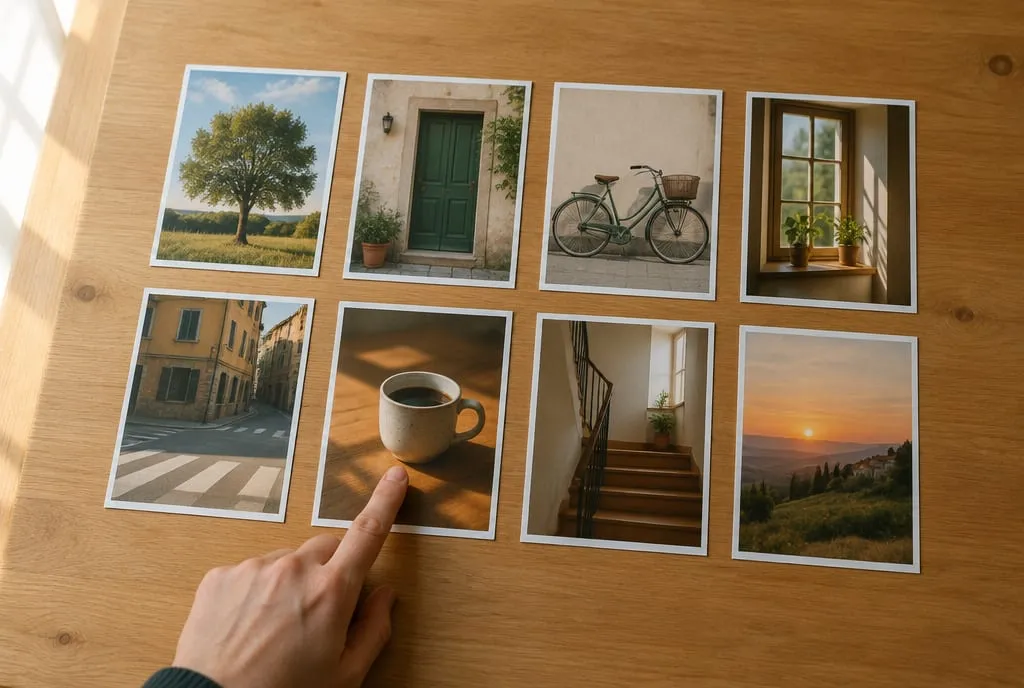 One picked photo per week: by the end of the plan you have eight images to compare with your starting point. AI-generated image created to illustrate the concept.
How do you know you’re improving without a teacher?
You find out through a fixed, written review at the end of each week. Keep the routine simple:
- View all of the week’s photos as thumbnails and pick just one, the best.
- Write one sentence on why you picked it: “the side light shows the bark texture”, not “I like it”.
- Write down the main flaw of that same photo, also in one sentence.
- Give it a score using the six criteria in how to tell if a photo is good: composition, light, optics, color, story and technique.
Digital Photography School makes the same point: decide exactly what you want to improve, plan your practice and review your shots against your notes, because whatever you keep only in your head is gone before your next shoot.
For a score that stays consistent over time, you can use the bands we use in Framia: 0-24 not this time, 25-39 worth reshooting, 40-54 quick snapshot, 55-69 competent, 70-79 good, 80-89 strong shot, 90 and up portfolio grade. A 55-69 is the normal range for a good amateur shot. We explain the scale in detail in photo score. If one week you can’t write the sentence in step 2, that’s the most useful thing you’ll learn: you don’t yet know why a photo works, and next week you need to look harder, not shoot more.
The second tool is an outside opinion. A forum, a friend who shoots or a local camera club will see what you’ve stopped seeing. Our guide to photo critique shows how to ask for it.
How long does it take to learn photography?
There’s no agreed number: it depends on how much you practice and how. Eight weeks is enough to handle exposure, sharpness and depth of field without overthinking, and to know how to look at light and compose. It isn’t enough to develop a style or master a genre.
The 10,000-hour rule gets quoted a lot, but even Digital Photography School, which brings it up, says it doesn’t guarantee mastery: what counts is practice that’s planned and measured. That’s why this plan doesn’t ask you to shoot more, but to shoot with a clear goal and review every week.
What slows down self-taught photographers?
Mostly mistakes of method rather than technique. The most common ones:
- Watching tutorials instead of shooting. A video explains aperture in ten minutes, but you only really get it when you see the background change on your own screen.
- Changing everything at once. If you change aperture, position and focal length in the same frame, you can’t tell which choice improved the photo. Our method for improving a photo in 3 shots grew out of exactly this.
- Chasing gear. Blaming the next purchase is easier than looking hard at your own photos.
- Genre hopping. Portraits on Monday, macro on Tuesday, astro on the weekend: lots of starts, no repetition.
- Never reviewing. Shooting without review is experience that never turns into skill.
How can Framia help along the way?
Framia can act as an outside review when you don’t have a teacher. You upload the photo of the week and get a score from 0 to 100 with a breakdown across the six categories, so you can see which criterion is weakest. The app’s School has hands-on lessons, plus lessons generated for you from the weak spots found in your photos.
A quick score costs 1 credit, full feedback across the six categories costs 2, and you get 4 credits when you sign up: enough to compare your best week-0 photo with your best from week 8. Treat it as a second opinion next to your own written sentence, not a replacement for it. It’s the same principle we explain in AI photo analysis.
What to do next
Set up week 0 today. It takes 30 minutes:
- Create a “week 0” folder and put in five photos you’ve already taken, the best you have.
- For each one, write a sentence: what works and what the main flaw is.
- Score each one using the bands above (0-24, 25-39, 40-54, 55-69, 70-79, 80-89, 90+).
- Put two 45-minute shoots and one 30-minute review in your calendar for next week.
- Read the part of your manual on aperture priority and exposure compensation: that’s your week 1 material.
Eight weeks from now, repeat steps 2 and 3 with the best five of the eight photos you picked, one per week. The comparison with week 0 is the most honest measure of how much you’ve learned.
FAQ
Can I follow the plan with a phone?
Yes, almost all of it. Exposure, light, composition, culling and editing work the same way. Week 3 changes: most phones have a fixed aperture, so study depth of field through distance instead (close subject, far background) and watch how portrait mode simulates the blur. If your phone saves RAW or DNG files, use that in week 7.
What if I miss a week?
Pick up where you left off and don't try to catch up all at once. The plan works because each week has a single topic. Cramming two topics into the same days takes you back to the original problem: changing too much at once and not knowing what worked.
Do I need to shoot in manual mode from day one?
No. Aperture priority (A or Av) leaves you the choice that shapes the image most and lets the camera set the shutter speed. Manual becomes useful when the light is stable or when the meter is consistently fooled, as with snow or backlight. It's easier to learn once you understand the exposure triangle.
How many photos should I take each day?
There's no right number. What matters is that each shot tests something different from the last: a hundred near-identical frames teach you less than ten where you changed one variable at a time. That's why every assignment in the plan sets a specific constraint.
What do I do after the 8 weeks?
Compare your five week-0 photos with the best five of the eight you picked during the plan, and see which of the six criteria is still weakest. Your next cycle starts there: another block of weeks on that criterion, or on the genre you enjoyed most.