How to Improve a Photo in 3 Shots: A Practical Method
 by Marco Carotenuto · · 7 min read

You shoot, look at the screen and sense that something is off, but you can’t say what. So you press the shutter again, almost the same way, hoping it will come out better. On photo tours we often see the same framing repeated many times, almost identical.
If you search for how to improve a photo, most results point to tools that boost resolution and sharpness after the fact. This article is about an earlier moment: when you are still standing in front of the scene and can change it. The method is simple: three shots, one flaw, one change at a time.
How do you improve a photo while you are shooting?
You shoot, check the result, pick the worst flaw and fix only that in the next frame. Repeat until the main flaw is gone. The three-step version below is our own editorial synthesis, not an industry standard:
| Shot | What you do | What you change |
|---|---|---|
| 1 · Baseline | Shoot on instinct, then study the screen for 20 seconds | Nothing: you need a starting point |
| 2 · Position | Fix the worst composition flaw | Where you stand or how you frame |
| 3 · Refinement | Clean up edges, exposure and timing | One detail: corners, highlights, the moment |
The idea echoes Anthony Epes on Digital Photography School: the first instinct when you meet a scene is to shoot, and that is fine as long as you accept there is more to do. Corel puts it more tersely: re-compose after every shot, because fifteen identical photos get you nowhere.
Why change only one thing at a time?
Because that is the only way to learn what worked. If you change position, exposure, focal length and orientation together and the photo improves, you can’t tell which change mattered. If it gets worse, you can’t tell which one to undo.
With one variable at a time your eye learns faster. Corel makes the same point: besides a better chance at a good photo, you quickly learn how angle, light and settings change the result. There is one exception: some variables are linked. If you move, the light on your subject changes too. When that happens, recheck the screen before touching anything else.
Shot 1: what do I look at on the screen before changing anything?
You check six things, one for each category a photo can be read through, and pick the weakest. It takes 20 seconds:
- Composition: where does the eye go first? Is there one clear subject, or several competing points?
- Light: where does it come from? Are there blown highlights, or shadows too dark where you need detail?
- Optics and background: what is behind the subject? A pole, a sign, a line cutting through it?
- Color: is there a cast that wasn’t there in front of your eyes?
- Story: without a caption, would a stranger know what to look at?
- Technique: is it sharp where it should be? Is the horizon level?
Then choose one flaw: the one that would change the photo the most if fixed. Write it in a sentence, like “the bridge is too small” or “a pole grows out of the subject’s head”. If you can’t phrase it, you haven’t diagnosed anything yet, and shot two would be a blind guess.
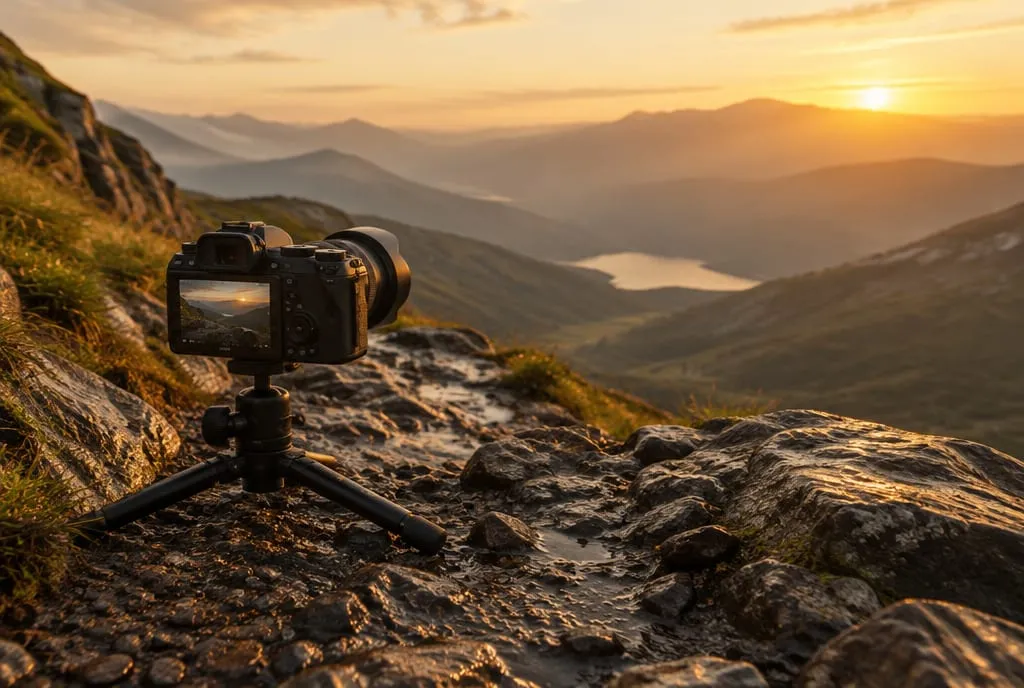 A tripod set low changes foreground and background together, which is why changing height is such a powerful move. Generated image to illustrate the concept, not a shot of a real place.
Shot 2: what do I change, based on the flaw?
Change where you stand or how you frame, choosing the move that matches the flaw you found. The table covers the most common cases:
| Flaw you see | One change | Why it works |
|---|---|---|
| Subject small or unclear | Take a few steps closer | Fills the frame and removes competing elements. Zooming fills the frame too, but leaves the relationships between planes unchanged |
| Distracting background | Step sideways or change height | The background shifts relative to the subject, so the pole or sign moves off the line |
| Empty foreground, photo feels distant | Crouch and include something close | Gives the image an entry point and scale (foreground in landscapes) |
| Horizon centered or tilted | Level it and move it to a third | Gives more room to the more interesting half (where to put the horizon) |
| Too many elements, no order | Reframe or wait for a simpler moment | Reduces competing points (composition mistakes) |
| Subject in a wide-open scene | Look for a natural frame | Branches or openings guide the eye (frame within a frame) |
| Flat light with the sun visible | Move so the light comes from the side | Direction changes the shadows. Under overcast it won’t change: you need a different subject or time (flat photos) |
Make the change, shoot, and look at the screen with the same sentence in mind: did the flaw improve, or did a different problem appear? If a new problem appeared, you learned something about the scene, and shot three starts from there.
Shot 3: how do I refine it?
In the third shot you no longer change the structure: you fix the details that often spoil a good frame. Check in this order:
- Corners and edges. Look at the four corners one at a time. Epes insists on this: a wedge of something in a corner, or a branch half in the frame, gives away a frame that wasn’t fully checked.
- Exposure. If highlights are blown, reduce exposure (negative compensation or a faster shutter speed), because a blown highlight can’t be recovered. If you need shadow detail, consider shooting RAW so you can lift it later.
- Horizon and verticals. Straighten whatever should be straight.
- Timing. If something moves (a person, a boat, water, a blinking sign), wait for the moment when it sits in the right place. Epes describes needing several frames to catch a light that was blinking on and off.
Then stop. Shot three doesn’t have to be perfect, it has to be better than shot one in a way you can explain.
When aren’t three shots enough?
When the flaw doesn’t depend on how you frame. If the problem is still there after three shots, it is probably in the scene or the light: a flat white sky, a subject without shape, the wrong time of day.
You then have three options: change subject in the same area, come back at another time with different light (how to read light), or accept that this scene doesn’t work today. Three shots is a minimum cycle: if the scene deserves it, run another with the same discipline.
Can editing improve a photo you have already taken?
Partly, but it doesn’t replace the right shot. In post you can correct white balance, contrast and crop, and lift shadows if the file has room. You can’t add a foreground that wasn’t there, change the direction of the light or recover an area that is completely blown out.
That is why it pays to fix the scene first and use editing to refine. The “enhance quality” services at the top of search results mostly act on resolution, noise and sharpness: useful on a blurry or small photo, but they don’t change viewpoint or composition.
How does Framia fit into this method?
After the outing, when you choose between the three shots. Framia gives a photo a score from 0 to 100 and explains what works and what doesn’t across six categories (composition, light, optics, color, story, technique). You can upload shot 1 and shot 3 and compare the two readings, to see whether your change actually improved the category you meant to fix.
The quick score costs 1 credit, and you get 4 when you sign up. It doesn’t replace your eye: it gives you a second opinion to check the diagnosis you wrote down on location. To train your yardstick, start with how to tell if a photo is good; to choose between similar frames, see how to cull your travel photos.
What to do next
A 15-minute exercise with any nearby subject: a building, a tree, a street.
- Shoot one photo on instinct, without overthinking. Then study the screen for 20 seconds and write the worst flaw in one sentence.
- Change only your position or framing to fix that flaw: move closer, step sideways or crouch. Shoot.
- Check the four corners and the exposure. Fix one thing, shoot.
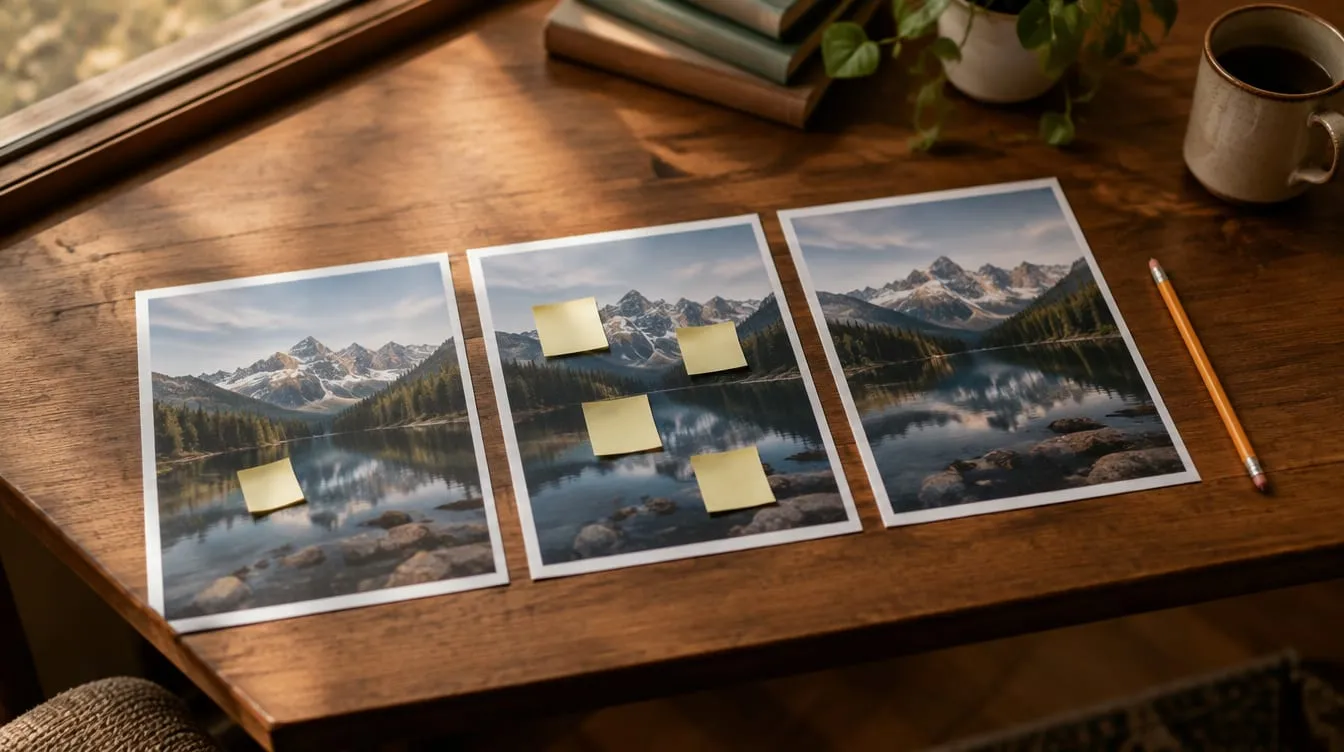
- Put the three shots side by side as thumbnails. Which reads best in a second?
- Write one sentence: “The second shot beats the first because…”. If you can’t finish it, the improvement was luck.
For a second opinion on the shot you prefer, upload it to Framia and compare its score with the first.
FAQ
Are three shots always enough?
No. Three is a minimum cycle, not a rule: it lets you test one composition fix and one refinement. If the main flaw is still there after the third shot, the problem is usually the scene or the light rather than the framing, so change location or come back at a different time of day.
Is it better to shoot a lot or a little?
Sources disagree. Fotografarebene recommends taking few shots so you think about each one; Corel warns that fifteen identical photos are pointless; Anthony Epes, on Digital Photography School, shows that sometimes it takes many frames to reach the right one. What they share is that every shot should change something from the last.
Should I delete the shots I don't like on location?
It is better not to. The screen is small and reflective, so sharpness and edges are hard to judge. Use it to decide what to fix on the spot, and make the final choice at home on a bigger display, comparing neighboring frames.
Does the method work on a smartphone?
Yes, because the variables are the same: where you stand, how close you get, what is at the edges and how clear the light is. On a phone you can also adjust exposure by tapping the screen, but still change one thing at a time.
How do I know which of the three shots is best?
Put them side by side as thumbnails and ask which one reads best in a second: clear subject, clean edges, light in the right place. Then check the details at full size. For a fuller yardstick, use the six criteria in how to tell if a photo is good.