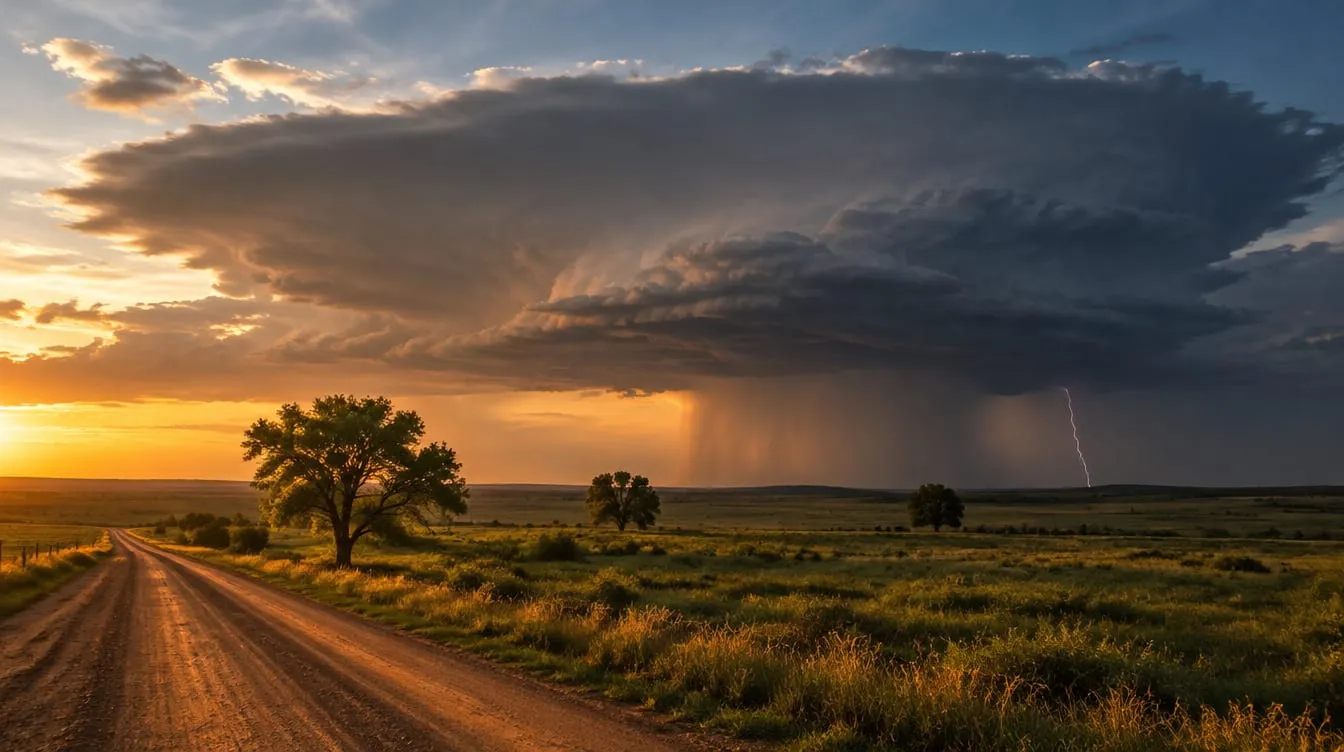
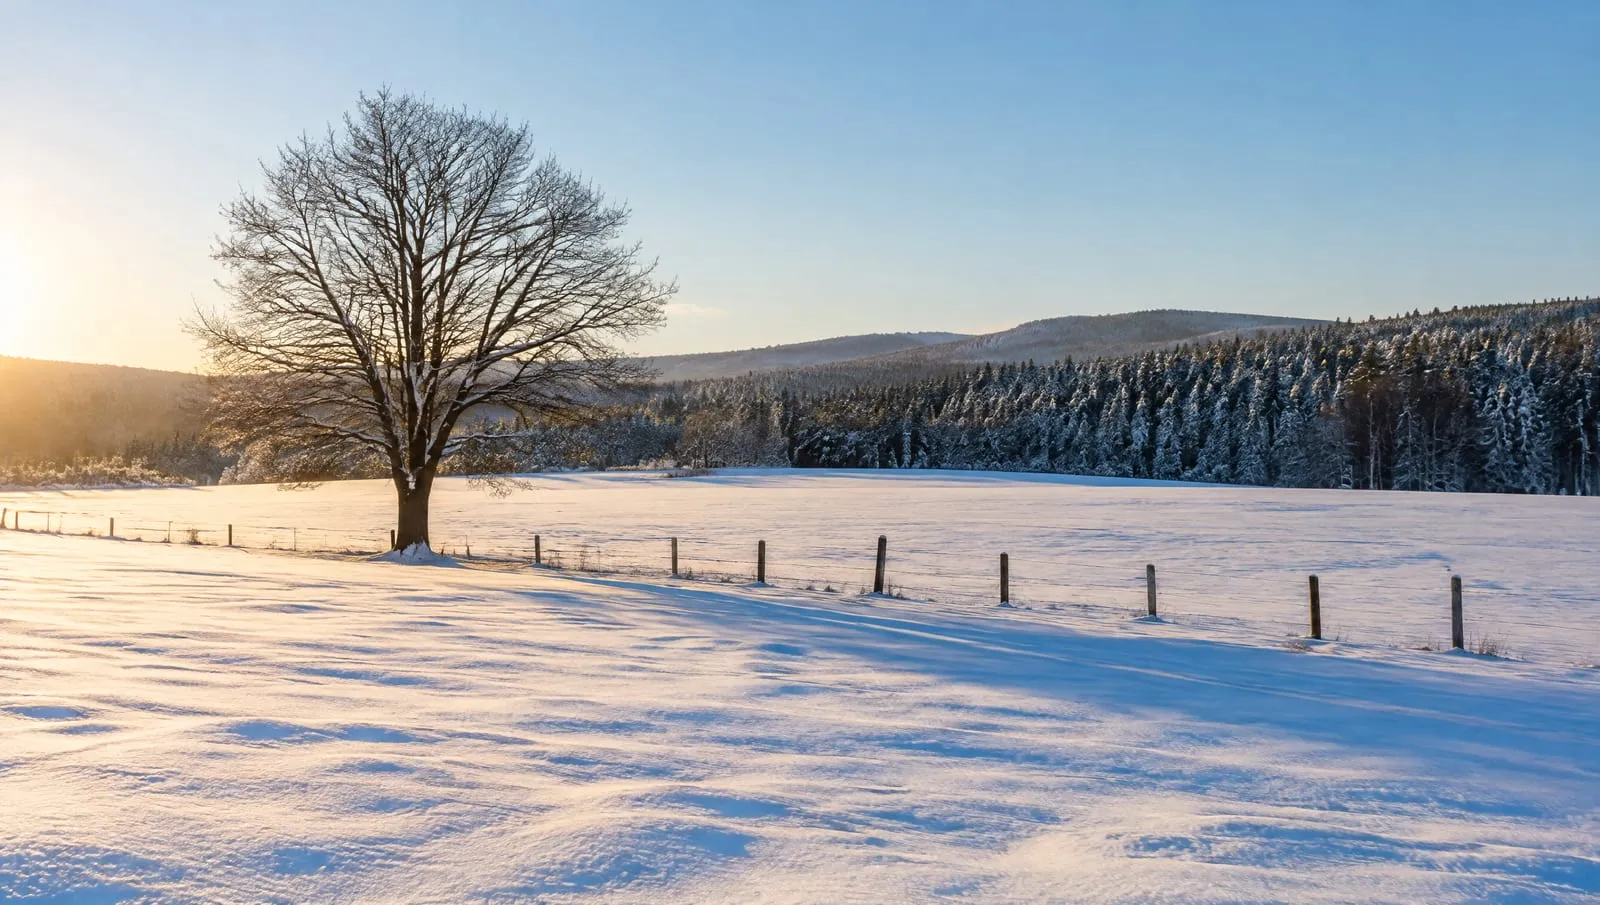
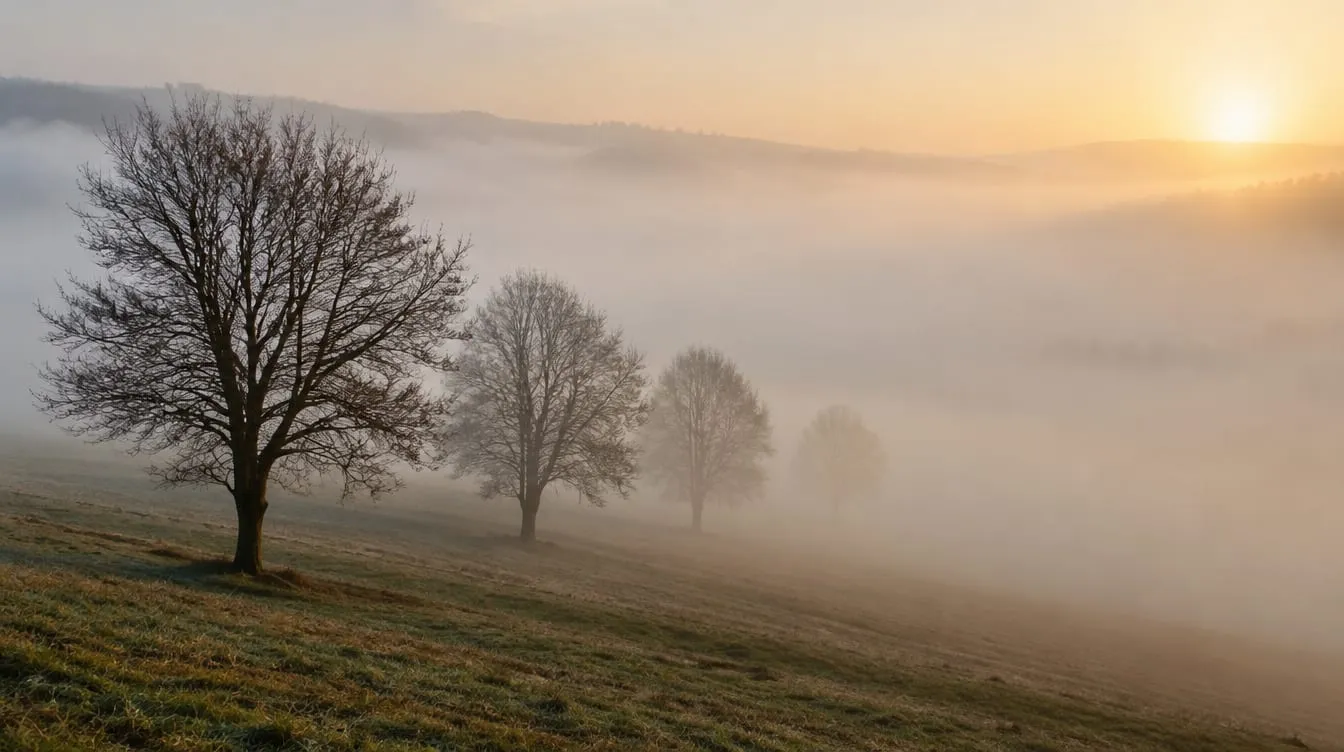
How to Read Light in Photography: 4 Questions
 by Marco Carotenuto · · 15 min read
You photograph the same scene two hours apart and the pictures look like they came from two different places. Or you reach a stunning location, shoot a lot, and at home find flat, lifeless images. Almost every time the difference is not the camera: it is the light, which you did not read before pressing the shutter.
This guide gives you a four-question method to run in the same order every time, tests you can do without any gear, a table of how light changes through the day and an exercise to train your eye on one outing. It is a general map to get your bearings before you dive into special cases such as golden hour, blue hour or backlight.
What does “reading light” mean in photography?
It means working out, before you shoot, how the light in front of you is shaping the scene and how your camera will record it. It is not a talent; it is a habit of observation. Photographers who have it can see, standing still, where the shadows will fall, whether the colors will be warm or cool and whether the sky will come out white.
Most basic guides split light into four aspects. Tecnica Fotografica, for example, covers quantity, quality, temperature and direction. That is a sound list, but a list of concepts does not tell you what to look at first in front of a real scene. So here they are reorganized as practical questions. The method is our own working proposal, built on the sources cited at the end: it is not a standard.
One premise for the whole article: there is no “good light” in the abstract. According to Photography Life, the best light depends on the photo, and the choice should be deliberate, or you end up using the same kind of light every time and all your pictures look alike. Reading light is how you start choosing.
What are the four questions to ask of a scene?
Where the light comes from, what it is like, what color it is and how much contrast it creates, in that order. The order matters because each answer narrows the next choices: direction decides where you stand, quality decides what kind of shadows you get, color decides how you set white balance, and contrast decides whether the scene fits in one frame.
| # | Question | What you look at | What you decide |
|---|---|---|---|
| 1 | Direction: where does it come from? | Sun height and the side the shadows fall on | Where to stand, whether to wait, vertical or horizontal |
| 2 | Quality: hard or soft? | The edge of the shadows | The character of the photo: graphic or gentle |
| 3 | Color: warm or cool? | The tint of highlights and shadows | White balance, how much to keep or correct |
| 4 | Contrast: how big is the gap? | Difference between the brightest and darkest areas | Exposure, multiple frames, or changing the light |
Quantity of light, meaning how much there is, is not a separate question: you handle it with exposure (shutter speed, aperture, ISO) and it comes back in question four, because what matters is the gap between lights and darks, not absolute brightness.
1. Where does the light come from?
From the sun, and its position decides almost everything: how long the shadows are, how much relief the landscape has, and whether you are shooting with the sun in front of you, beside you or behind you. There are two things to read: the height of the source above the horizon and its angle relative to you.
Height shows in the shadows. With the sun low, shadows are long and the ground looks sculpted; with the sun high, shadows are short and surfaces look flat. It is plain geometry: for a vertical object on level ground, the shadow length is its height divided by the tangent of the sun’s elevation.
| Sun elevation | Shadow vs. object height | Effect on the scene |
|---|---|---|
| 60° | 0.6 times | Short shadows, little relief |
| 45° | 1 time | Shadow equals the object’s height |
| 30° | 1.7 times | Clear relief |
| 15° | 3.7 times | Long shadows, texture in the foreground |
| 10° | 5.7 times | Very long shadows, raking light |
From that comes a test you can do anywhere: look at your own shadow. If it is as long as you are tall, the sun is at about 45°. If it is longer, the sun is below 45° and the landscape is gaining depth; if it is shorter, the sun is high and surfaces tend to flatten.
The angle relative to you changes how light draws the subject. Walk around a still subject and you get four different situations:
| Direction | Where the shadows are | What it does to the photo | When to use it |
|---|---|---|---|
| Front light (sun behind you) | Behind the subject, barely visible | Clean color, little relief | Saturated color, quick shots |
| Side light (sun at 90°) | To the side, long | Volume and texture | Landscapes, rock, architecture, faces |
| Backlight (sun in front of you) | Toward you | Silhouettes, bright edges, high contrast | Silhouettes, mist, translucent foliage |
| Top light (sun high) | Beneath the subject, short | Shadows under hats, rocks, eyes | Graphic subjects, reflections, open shade |
The most underrated case is front light. It is convenient because exposure is easy, but it removes the shadows your brain uses to read depth. If your photos look flat, check where the light comes from before changing anything else: we explain it in why photos look flat.
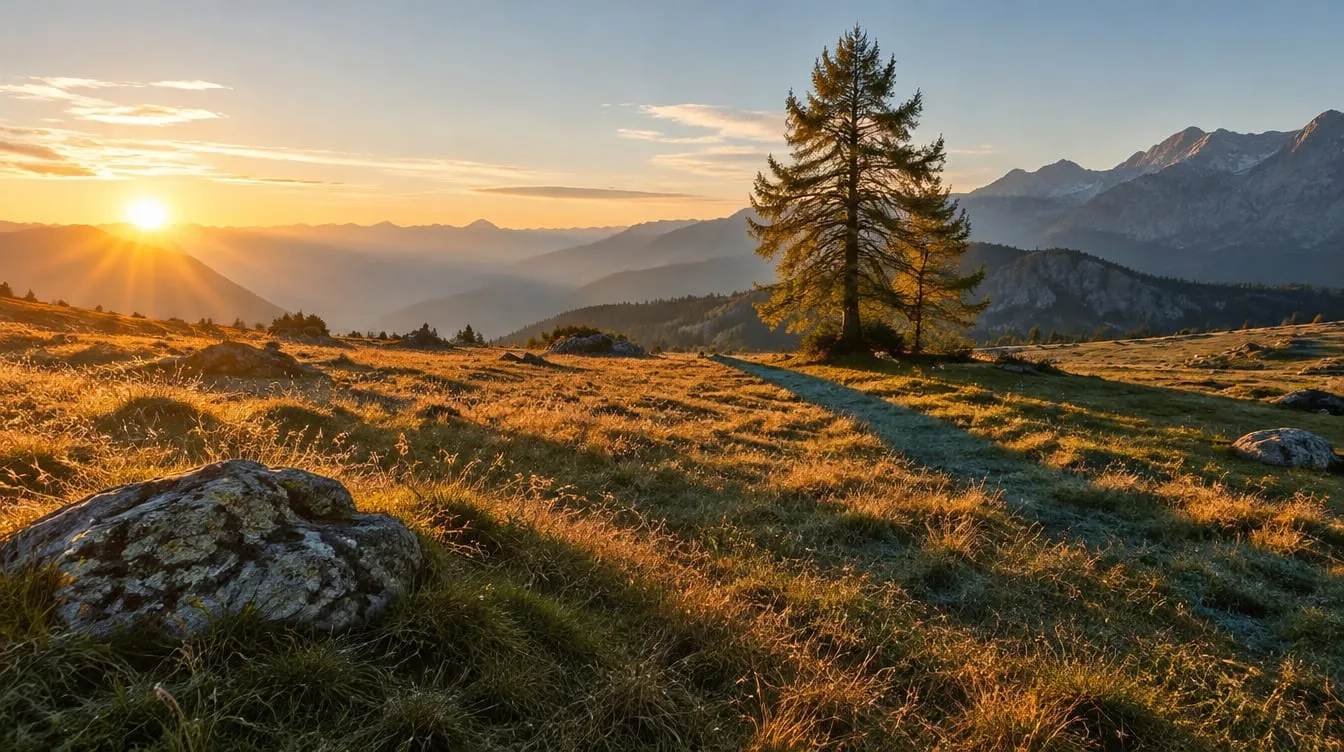
The cover of this article shows the ideal situation for a landscape: low sun at the left, almost behind the scene, and long shadows crossing the meadow toward you. The light does not just illuminate the scene, it organizes it: shadows become lines, the grass catches fire along its edges, the larch separates from the background.
2. Is the light hard or soft?
You can tell from the edge of the shadows: sharp and dark means hard light, blurred and pale means soft light. The reason is the size of the source relative to the subject. As Fstoppers explains, the smaller the source relative to the subject, or the farther away it is, the sharper and darker the shadows; the larger or closer it is, the softer and brighter they get.
The sun is a tiny source in the sky, so on a clear day it gives hard light. When clouds arrive the whole sky becomes the source and the light softens. The same happens in open shade: the subject receives only skylight, which comes from a much bigger source than the sun. Adobe describes diffused light simply as light filtered by something: a cloud, a curtain, a shadow.
The finger test. Hold a finger, or a pen, a few centimeters above a sheet of paper, a wall or the ground, and look at the outline of its shadow. If it is sharp, the light is hard. If it is blurred, the light is soft. If you can barely see it, the light is very soft. Keep the distance between finger and surface the same each time, otherwise comparing one situation with another is meaningless.
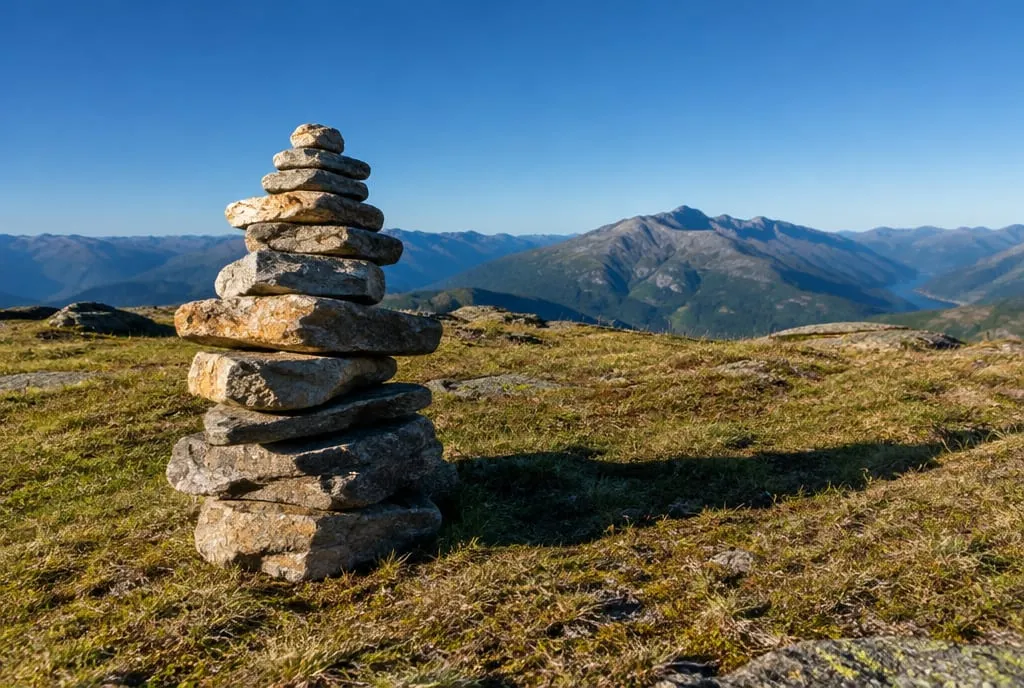 Hard light: a dark, sharp-edged shadow and stone faces that are either very bright or very dark. Generated image to illustrate the concept, not a shot of a real place.
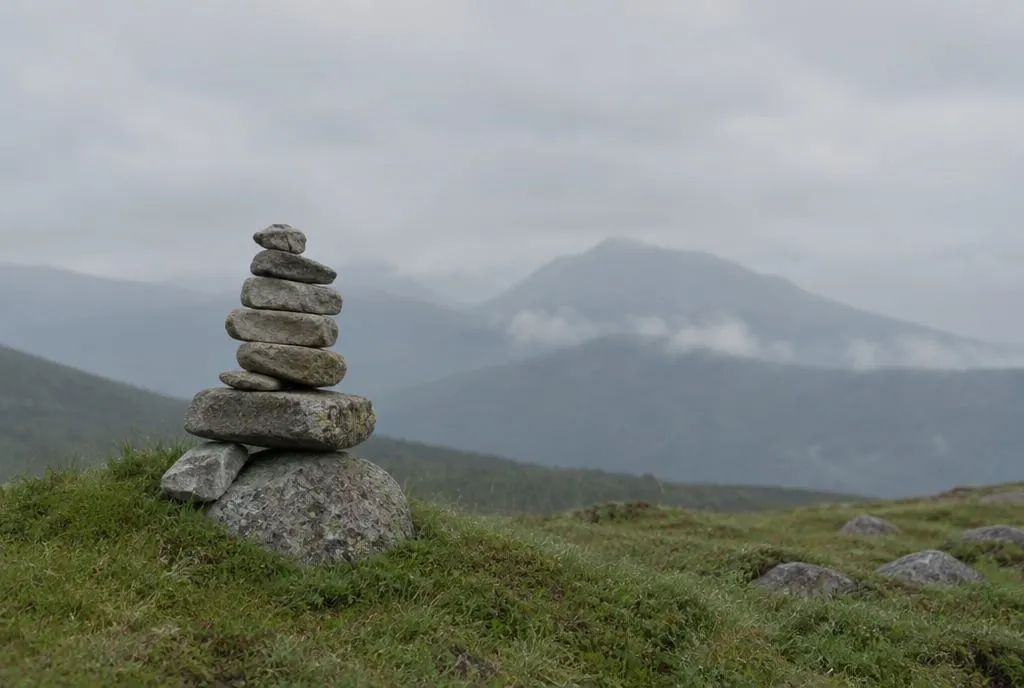 Soft light: under an overcast sky the shadow disappears and the tones sit close together. A second generated image, not the same place or the same shot as the one above: it is only here to compare the character of the two lights.
Neither is better. Hard light gives graphic images with contrast and decisiveness, but you have to manage the shadows. Soft light forgives mistakes and suits details and people, but on its own it can produce dull shots. Adobe is explicit on this: an overcast day may not make the most striking landscapes, because the flat sky is dull, but it works wonders for portraits.
As a practical rule for landscapes: in soft light include little sky and look for details (forests, streams, moss); in hard light look for shapes, lines and shadows that build the composition.
3. What color is the light?
Almost never white. Daylight changes color with the hour, the weather and the source: low sun warms the scene, overcast sky and open shade cool it, an incandescent bulb turns it orange. Adobe describes golden hour as the time just after sunrise or before sunset when light becomes softer and warmer, and notes that it is not always exactly an hour: it depends on the season and where you are.
Three comparisons are enough to read it:
- Highlights against shadows. If the highlights are warm and the shadows cool, you have two sources: direct sun and sky. This is the situation that gives a landscape the most air, as in the cover.
- What you expect against what you see. If the tint surprises you, look at something you know is white or gray (a cloud, a wall, a sheet of paper).
- One tint or several. A room with a window and lamps has two lights of different color in the same frame, and no single setting makes both neutral.
Then decide whether to keep or correct it. Auto white balance tends to neutralize color casts, including the ones you wanted: a sunset can come out duller than you saw it. If you shoot RAW, white balance does not lock you in and you can choose it later, but the question stays: is that tint part of the photo or a flaw? As a rule, keep the tint that made you raise the camera; correct the one you had not noticed.
The color of the light comes before any filter or preset: if the starting tint is wrong, in editing you will have to repair instead of refine.
4. How much contrast does the light create?
Contrast is the gap between the brightest and the darkest parts of the scene. It is the question that decides whether the frame fits in a single shot. A camera records a limited range of brightness: if the scene has more, you have to choose what to sacrifice, the highlights or the shadows.
With high sun and deep shadows, or a bright sky over a dark foreground, contrast usually exceeds what the sensor can record. You have four options:
- Change the light. Wait for the sun to drop or for clouds to arrive: it costs the most waiting and pays off the most.
- Change position. Put the sun to the side or behind you, or frame so the shadow does not fill half the picture.
- Expose for the highlights and lift the shadows later. In RAW, dark shadows can be recovered at the cost of noise; blown highlights cannot.
- Shoot several exposures and blend them, or use a graduated filter on the sky.
The check is simple: look at the histogram right after the shot. If the data is piled against the right edge, the highlights may be blown; if it is piled against the left edge, the shadows may be crushed; if it touches both edges, the scene has more contrast than the sensor can record in one shot.
Contrast also affects composition: bright areas draw the eye more than dark ones, so light shifts visual weight. We cover that in visual weight in photography, and the composition guide shows how to balance it.
How does light change through the day?
In direction, quality and color all at once, which is why it helps to know the four or five typical phases of a day. The table is a general guide: exact times depend on season, latitude and weather.
| Phase | Direction | Quality | Color | What it suits |
|---|---|---|---|---|
| Before sunrise and after sunset (blue hour) | Diffuse, no shadows | Very soft | Cool, bluish | Cities, water, atmosphere; tripod needed |
| Sunrise and sunset (golden hour) | Low, side or backlight | Softer, long shadows | Warm | Landscapes, depth, texture |
| Morning and afternoon | Intermediate | Hard but manageable | Neutral or slightly warm | Almost anything, if you turn the subject |
| Midday | High | Hard, short shadows | Neutral or cool | Graphic subjects, reflections, open shade |
| Overcast sky | From above, no direction | Very soft | Cool | Forests, details, people |
On blue hour, Adobe makes a useful point: it is an ideal time for even light, but it usually needs exposures of a second or more, so you need a tripod.
An honest note: the sources do not give precise times or sun heights for the switch from hard to soft light. Adobe attributes the softness of golden hour to the low angle of the sun and to the atmosphere acting as a diffuser, and says it does not always last an hour. So no fixed times: use the shadows and the finger test.
How do I read light in 30 seconds in the field?
With a fixed sequence of four gestures, one per question. No gear needed.
- Direction: look at your own shadow and those of nearby objects. Where do they fall? Are they longer or shorter than you?
- Quality: look at the edge of a shadow, or use the finger test.
- Color: compare a patch in sun with a patch in shade. Which is warmer, which is cooler?
- Contrast: squint. If every detail vanishes from the shadows and the highlights glare, contrast is high; if everything turns uniform gray, it is low.
Then decide one thing only: is the light working for the subject or against it? If it works for it, shoot. If it works against it, you have three moves in order of cost: move, wait, change subject. On photo tours the difference between people who shoot the moment they arrive and people who observe first is easy to see: two minutes of reading cost little and save a lot of pointless frames.
Which light should I choose for each subject?
The one that brings out what makes the subject interesting. The table gives you a starting point, not a rule.
| Subject | Light that works | Why | Watch out for |
|---|---|---|---|
| Wide landscape | Low and from the side | Shadows give relief to the layers | Sky-to-ground contrast |
| Mountains and rock | Side or raking light | Brings out texture and form | Shadows that swallow detail |
| Forest, moss, streams | Overcast sky | Low contrast, clean color | A white sky in the frame |
| Architecture | Side light | Shows volume and surfaces | Facades in shade |
| People | Open shade or overcast | Soft shadows, no squinting into the sun | Cool cast in the shade |
| Silhouettes and lines | Backlight | Clean shape, bright background | Exposure, lens flare |
| Fog and mist | Backlight or side light | Light makes the layers visible | Exposure that turns the scene gray |
What if the light is not right?
You have five options, from the cheapest to the most costly: reframe, move, change subject, wait or come back. Often the answer is already in the scene.
- Reframe. Hard light on a landscape can be perfect on a detail in shade, a reflection or a silhouette.
- Move. Turning ninety degrees changes the direction of the light without changing place.
- Change subject. Under overcast sky look for a forest or a stream; under high sun look for open shade or reflections.
- Wait. The sun moves and clouds pass: ten minutes can change the scene.
- Come back. If the right light for that spot arrives only at a certain hour, return at that hour.
If the subject is small you can change the light yourself: a diffuser under harsh sun or a reflector to lift the shadows. Photography Life notes that diffusers and reflectors are usually inexpensive, portable and need no batteries. For a landscape, though, you do not modify the light: you wait for it.
How does Framia score light?
Light is one of Framia’s six categories, together with composition, optics, color, story and technique. It gets a score from 0 to 100 with a concrete explanation, on the same scale as the others: between 55 and 69 the intent shows but the execution has clear limits, from 80 up the shot is strong with no significant flaws. For how to judge a photo across all the criteria, see how to tell if a photo is good; for what an automatic analysis can and cannot tell you, there is AI photo analysis.
What to do next
A one-hour exercise with a still subject (a building, a rock, a tree, a bench) to see the difference light makes when everything else stays the same.
- Pick one subject and write the four questions on a sheet of paper.
- Walk a full circle: shoot from each of the four sides of the subject (front, right, back, left), keeping the same distance and the same focal length.
- For each shot, answer the four questions in one line: direction, quality, color, contrast.
- If you can, repeat after at least half an hour, or when a cloud covers the sun, and compare.
- Put the photos side by side as thumbnails. Which has the most volume? Which has the most contrast? Which do you prefer, and which question explains the difference?
- Write the rule you take home in one sentence (“with low side sun the rock has more shape”). That is your first light-reading habit.
For a second opinion, upload your favorite shot to Framia and compare its light score with your own reading: it gives a score for light with an explanation of what works and what does not.
FAQ
What is the best light for photography?
It depends on the subject and the mood you want. Low side light gives landscapes depth, soft overcast light suits forests, details and portraits, and hard light suits graphic images with strong contrast. There is no good light in the abstract, only light that matches your idea.
How can I tell if light is hard or soft?
Look at the edge of a shadow. A sharp, dark edge means hard light; a blurred, pale edge means soft light; if you can barely see a shadow, the light is very soft. A quick test: hold a finger a few centimeters above a sheet of paper or the ground and look at the outline of its shadow.
Should I always avoid midday light?
No, but it is the hardest to use: the sun is high, shadows are short and hard, and contrast is strong. It works for graphic subjects, reflections, saturated color and scenes in open shade. For landscapes and people it usually gives less than lower or overcast light.
Do cloudy skies ruin landscape photos?
They ruin a gray, featureless sky, not the landscape. In a forest, by a stream or on detailed subjects, overcast light is an advantage because it lowers contrast. The fix is to include very little sky or to change subject.
Do I need to learn Kelvin values to read the color of light?
No. To start, just notice whether the light is warmer (orange) or cooler (blue) than you expect, and decide whether to keep that color or correct it with white balance. Numbers only matter when you need to match several artificial sources.
Can I fix bad light in editing?
Partly. You can change color and lift shadows, especially in RAW, but you cannot recover blown highlights or invent a direction of light that was never there. That is why it pays to read the light before you shoot.