Horizon Placement in Photography: Where and Why
 by Marco Carotenuto · · 8 min read
You face a great view, raise the camera, and the horizon lands wherever it lands: usually about halfway, because that’s where the camera puts it when you hold it level. The photo is tidy and says nothing. The line between sky and land is the biggest composition decision you make, and most of the time you make it without noticing.
Here you get a two-step test for choosing where to put it, the cases where a centered horizon works, a piece of geometry that explains why moving it is harder than it looks, and the checks that keep it level. For the general idea behind thirds, see the rule of thirds; this guide goes deep on the horizon alone.
Where should the horizon go in a landscape photo?
Wherever it gives the most room to what matters most. If the interesting part is the sky, the horizon drops and the sky takes about two thirds of the frame; if it’s the ground, the horizon rises and the ground takes two thirds. The two usual positions land near the thirds lines, but they are the result of that choice, not the reason for it.
Two landscape photographers’ guides say much the same: Fstoppers suggests letting the most important part fill most of the frame, and Michael Frye notes that sometimes you should ignore the rule and go well beyond thirds territory. The number to look for isn’t “one third”. It’s “which half tells the story”.
How do I decide which half gets more room?
With the two-crop test, which takes ten seconds on your screen. Cover the sky with your hand and look at the ground; then cover the ground and look at the sky. Ask which loss hurts the photo more.
| What happens | What it means | Where the horizon goes |
|---|---|---|
| Without the sky, the photo loses a lot | Clouds, color or light are working | Low: the sky takes about two thirds |
| Without the ground, the photo loses a lot | Foreground, water or texture are working | High: the ground takes about two thirds |
| One half can vanish and little changes | That half is filler | Shrink it to a thin strip, or crop it out |
| You lose a lot either way | Two strong halves, one choice to make | Pick a star, or go for symmetry |
| You lose little either way | The scene has no subject yet | Change scene, light or viewpoint |
The last row is the most useful: if covering either half changes nothing, moving the horizon won’t rescue the photo. The problem is upstream, and why photos look flat is the better place to start before you tilt the camera again.
When does a high horizon work?
When the star is what’s below and the sky has nothing to say. A pale or featureless sky becomes a narrow band, and the weight of the picture passes to grass, water, rocks. It also suits a strong foreground that needs room to unfold.
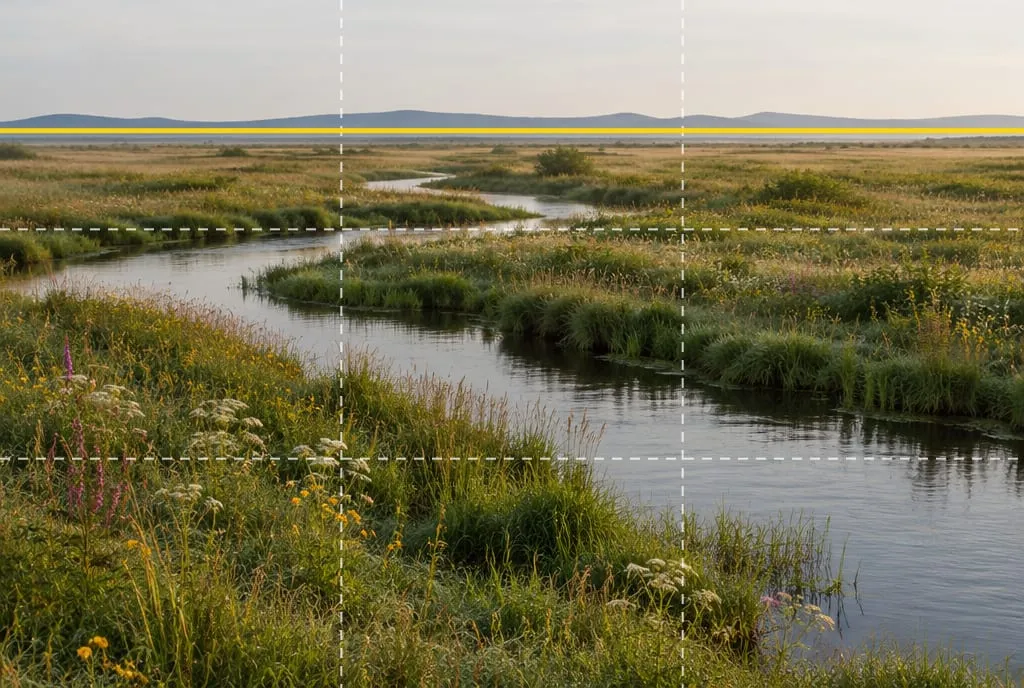 Horizon above the upper thirds line, marked in yellow: the sky is nearly empty, so it gets under a fifth of the frame and the stream leads the eye. Image generated to illustrate the concept, not a real photo of a real place.
Here the horizon sits higher than thirds and still works, because the choice has a reason. When the ground is the subject, how you fill it matters too: foreground interest in landscape photography shows how to choose an element that can hold a band this large.
And when does a low horizon work?
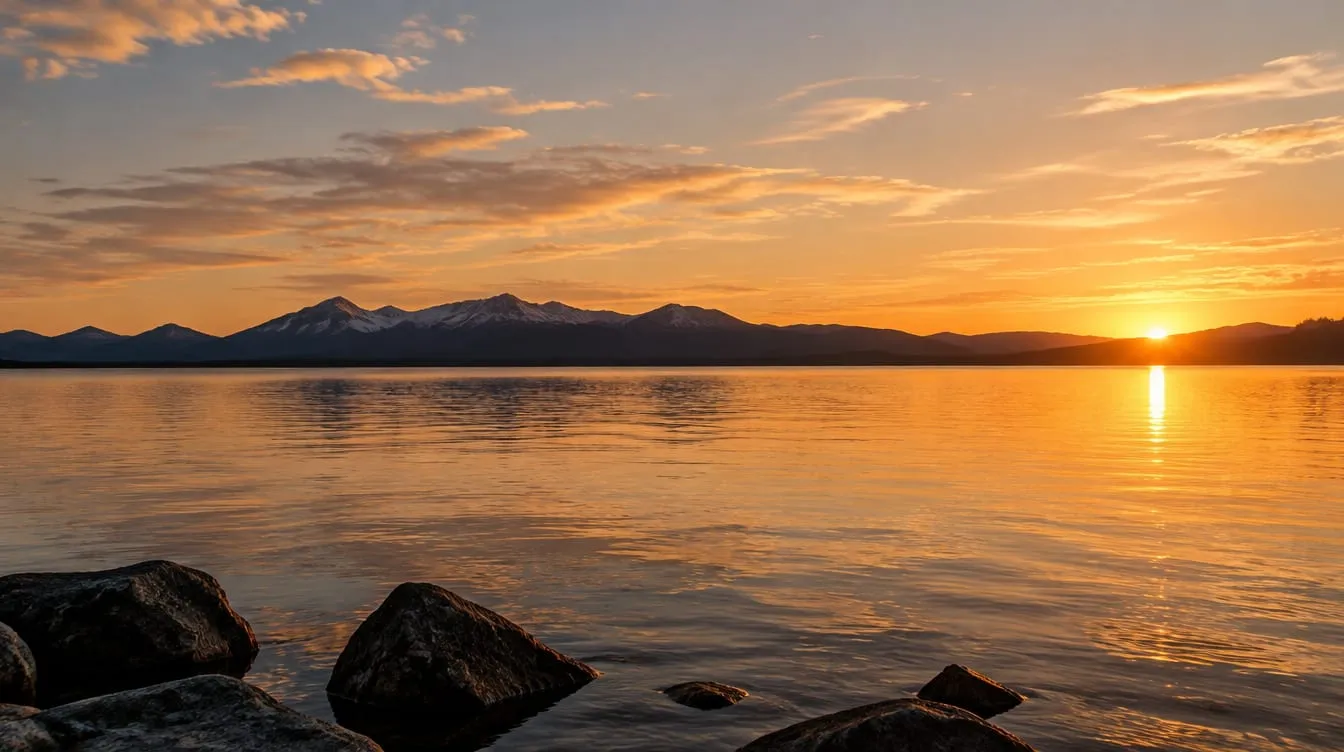
When the sky has clouds, color or light worth almost the whole frame. It’s the classic call for sunrise and sunset, and the ground shrinks to a dark base that adds weight and scale.
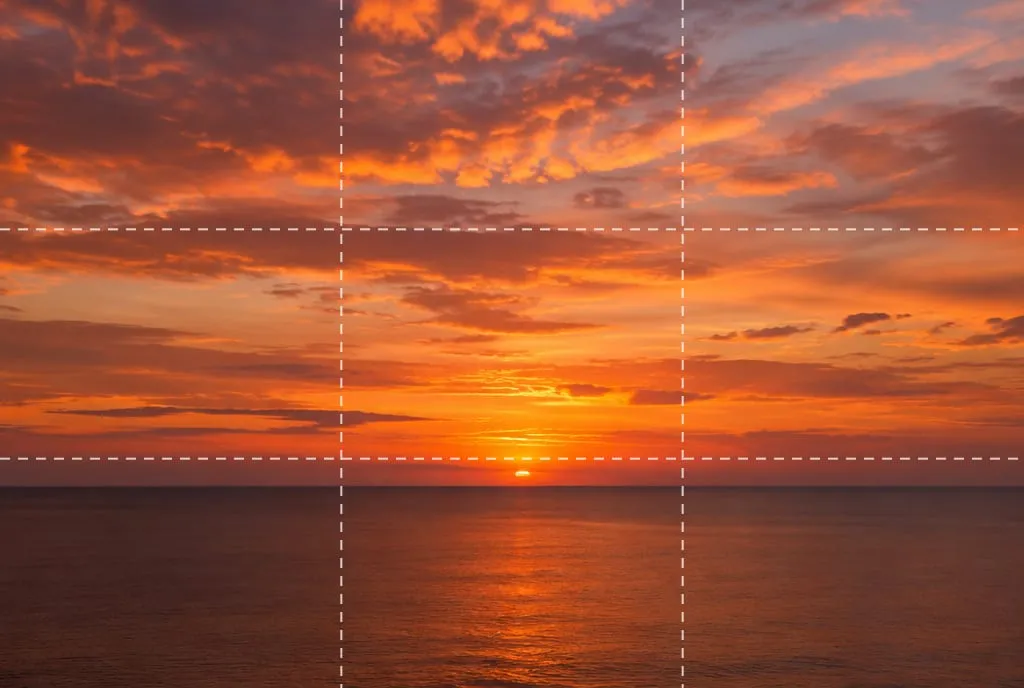 Horizon just below the lower thirds line: the rich sky takes about 70% of the picture and the sea acts as a quiet base. Image generated to illustrate the concept, not a real photo of a real place.
Watch the strip at the bottom: if the ground is dark and formless, treat it as negative space and check that it’s alive, meaning calm and consistent with the sky, not just empty.
Why doesn’t a centered horizon usually work?
Because it splits the photo into two pictures of similar weight, and the eye can’t tell where to start. When neither sky nor ground is more interesting than the other, the eye bounces between the halves and never settles: Fstoppers calls the result a restless photo.
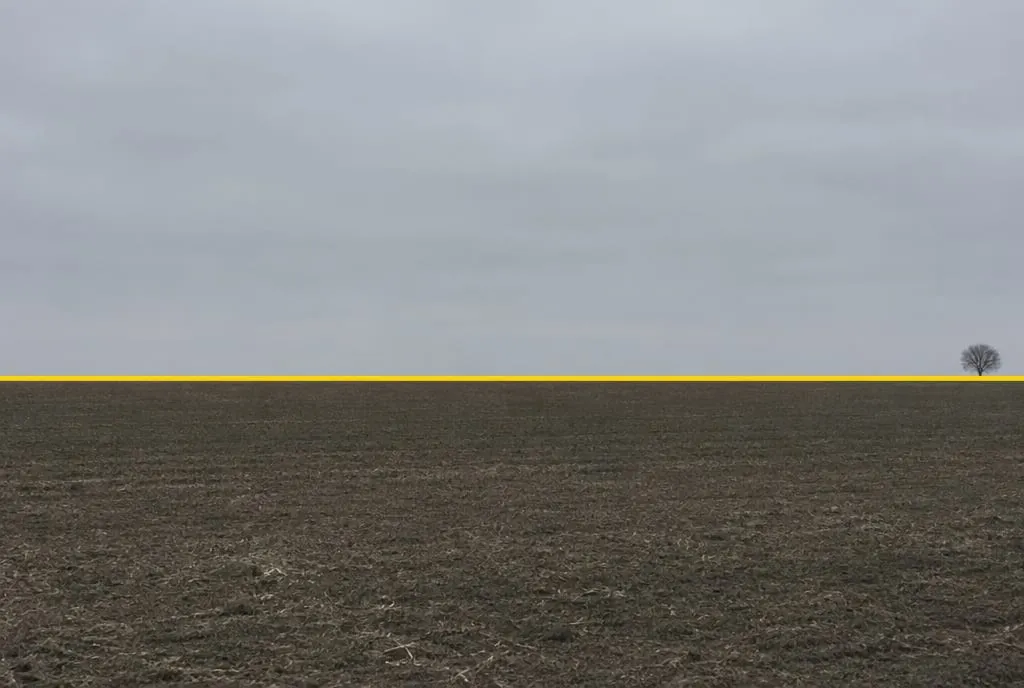 Horizon almost in the middle, marked in yellow: ground and sky carry the same weight and neither half has anything to look at except a tree on the edge. Image generated to illustrate the concept, not a real photo of a real place.
Run the two-crop test on this one: cover the sky and nothing changes; cover the field and nothing changes either. The centered horizon isn’t the problem here. It’s the symptom of a photo with no star.
There are three cases where the center is a valid choice:
- A sharp reflection: with a lake mirroring the sky, the two halves have equal weight by nature. Frye suggests considering the center in exactly this case, and avoiding it when the water is rippled and the reflection isn’t clean.
- Deliberate symmetry: if the whole scene is built on two halves repeating, the center makes that obvious. It needs precision, because a small asymmetry shows at once.
- A subject that crosses the line: a boat, a tree or a person genuinely straddling both planes can hold the halves together, as long as the line doesn’t cut them at an awkward spot (more on that below).
How do I put the horizon where I want it without ruining the shot?
With a level camera, a true horizon (sea, lake, plain) falls at the center of the frame, whatever height you shoot from. To move it, you have to tilt the camera: pointing down raises the horizon in the frame, pointing up lowers it. That’s geometry, and it’s why the “default” position is always the middle.
Tilting has a price. With a wide-angle lens, vertical lines such as trunks, poles and buildings converge, and with an ultra-wide an off-center horizon can curve slightly toward the edges. Three ways to handle it:
- Tilt as little as you can and check the verticals on your screen. If a trunk or pole leans, you’ve overdone it.
- Frame wider with the camera level, then crop: to move the horizon down, remove ground; to move it up, remove sky. It costs pixels but keeps verticals straight.
- Change the choice, not the camera: if the scene allows it, crouching or stepping sideways changes what sits below the line without touching the line.
One practical consequence: lowering the camera doesn’t drop the horizon in the frame if you stay level. It changes how near objects sit against the distant line, which sometimes is all the fix you need.
How do I keep the horizon level?
By lining it up with a reference that really is level. A crooked horizon is noticed at once, because everyone knows the sea is flat. If you don’t have an electronic level, use your screen’s grid.
- Water and sea: the best reference, since the surface is level by nature.
- Mountains and hills: don’t align to the ridge, because it really is slanted. Look for a lake, a low horizontal cloud bank, or a vertical (a pole, a trunk) to check against.
- Check again later: on a small screen, slight tilts slip through. View the photo full-screen before you discard or keep it.
Straightening in editing costs you some edge, which is another reason to frame a little wide.
What if the horizon touches my subject?
If the line runs through a person’s neck or head, the top of a tree or the edge of a roof, the horizon seems to “grow” out of the subject and the photo reads as a mistake. A tiny move fixes it: two steps sideways, or the camera a bit higher or lower, and the horizon passes above or below without touching anything.
The same goes for a ridge or shoreline that grazes the frame edge: if the line coincides with the border, either show it or leave it out. A hair above or below the edge, the line looks like an error even when it isn’t.
How does Framia score the horizon?
Where you put the horizon is a composition matter, because it decides how weight is shared between sky and ground. A crooked horizon is a technique flaw, as explained in the guide to the six criteria for judging a photo: it’s a checkable fact, and the grid fixes it. A centered horizon with no reason behind it is a composition choice without a motive.
What to do next
A twenty-minute exercise, with any scene that has a visible horizon (even from your window):
- Shoot the scene with the horizon in the middle, level.
- Tilt slightly and shoot with the horizon high (about a third from the top), then low (about a third from the bottom).
- For each, run the two-crop test: cover the sky, then the ground. Note which loss hurts more.
- Pick the shot where the bigger half is also the one that loses more when you cover it.
- In that shot, check three things: horizon level on the grid, no subject touched by the line, verticals not leaning too much.
- Write one sentence: which half was the star, and what made you realize it.
If you’d like a second opinion on the shot you picked, upload it to Framia and look at the composition and technique scores: the first tells you whether the choice holds, the second whether the line is level.
FAQ
Can the horizon really go in the middle of the frame?
Yes, when sky and ground carry equal weight and mirror each other, as with a calm lake, or when symmetry is the point. With a rippled reflection or two halves that don't echo each other, the photo splits into two pictures fighting for attention.
How much sky is too much?
When there's nothing in it to look at. A flat, featureless sky filling two thirds of the frame is dead weight; the same sky squeezed into a thin strip, or cropped out, hands the scene to the ground. The test is what the sky contains, not the percentage.
How do I get a level horizon without a built-in level?
Use the grid on your screen and line the horizon up with a horizontal line. If there's a lake or the sea, the water surface is level by nature and makes the most reliable reference. Don't align to ridges, roads or rooflines, which may really be slanted.
Can I move the horizon after shooting?
Yes, by cropping, but it costs pixels and you can only remove sky or ground, not add it. That's why it pays to frame a little wide and make the final call in the crop only when the scene allows it.
What about vertical photos?
The principle is the same. A vertical frame has more height, so one half usually dominates: a tall sky above a low horizon, or deep ground below a high one.