Exposure Triangle Explained: Aperture, Shutter, ISO
 by Marco Carotenuto · · 13 min read
Aperture, shutter speed and ISO look like three separate dials, and for many people they stay three numbers copied from a tutorial. They are actually one system: change one, and to keep the same brightness you must move another. The interesting part is that each one also changes how the photo looks, and that is where technique turns into a creative choice.
This guide explains the exposure triangle starting from the unit that holds it together, the stop, with tables you can use in the field. You will see what each setting does, how to compensate, which to set first in different situations, and where the sources disagree. At the end there is a test you can run in an afternoon with a camera and a tripod, or a wall to rest it on.
What is the exposure triangle?
It is a way of describing the three controls that decide how bright or dark a photo turns out: aperture, shutter speed and ISO. According to B&H, the first two regulate how much light reaches the light-sensitive surface, and the third sets how sensitive that surface is.
Each side plays a double role. It changes brightness, but it also changes something else:
| Control | What it sets | Side effect |
|---|---|---|
| Aperture (f/) | How much light passes through the lens | Depth of field: how much of the scene is sharp |
| Shutter speed (s) | How long the sensor receives light | Motion: movement frozen or blurred |
| ISO | How much the signal is amplified | Noise: grain in the shadows |
The triangle image works because it reminds you that you cannot move one side without the others adapting. Like any metaphor it simplifies, and on ISO the sources disagree: more on that below.
What is a stop, and why is everything measured in stops?
A stop is a doubling or halving of light. Photography Life puts it this way: adding a stop means doubling the exposure, removing one means halving it. It is the unit that lets you compare three very different controls.
Each control has its own scale, and one step on any scale is one stop:
| Control | Scale (one step = 1 stop) | What happens as you move to the value on the right |
|---|---|---|
| Aperture | f/1.4 · 2 · 2.8 · 4 · 5.6 · 8 · 11 · 16 · 22 | Half as much light gets in |
| Shutter speed | 1/1000 · 1/500 · 1/250 · 1/125 · 1/60 · 1/30 · 1/15 · 1/8 | The sensor receives twice as much light |
| ISO | 100 · 200 · 400 · 800 · 1600 · 3200 | The signal is amplified twice as much |
Aperture is the scale that confuses people most, because the numbers look backwards: a higher f-number means a smaller opening. The reason is that the f-number is the ratio of focal length to the diameter of the opening. To double the area of the opening, divide the number by the square root of 2 (about 1.4); to halve it, multiply by 1.4. Hence the series 2, 2.8, 4, 5.6, 8: each number is roughly 1.4 times the one before.
Cameras also offer in-between steps of a third of a stop. They work the same way, just finer: the principle is still doubling.
What does aperture do besides letting in light?
It controls depth of field: the wider the opening, the less of the scene is sharp. With a wide aperture (low f-number) the background blurs and the subject separates from it; with a narrow aperture (high f-number) sharpness extends from the foreground to the horizon. For B&H, aperture is the size of the lens opening: the wider it is, the more light passes.
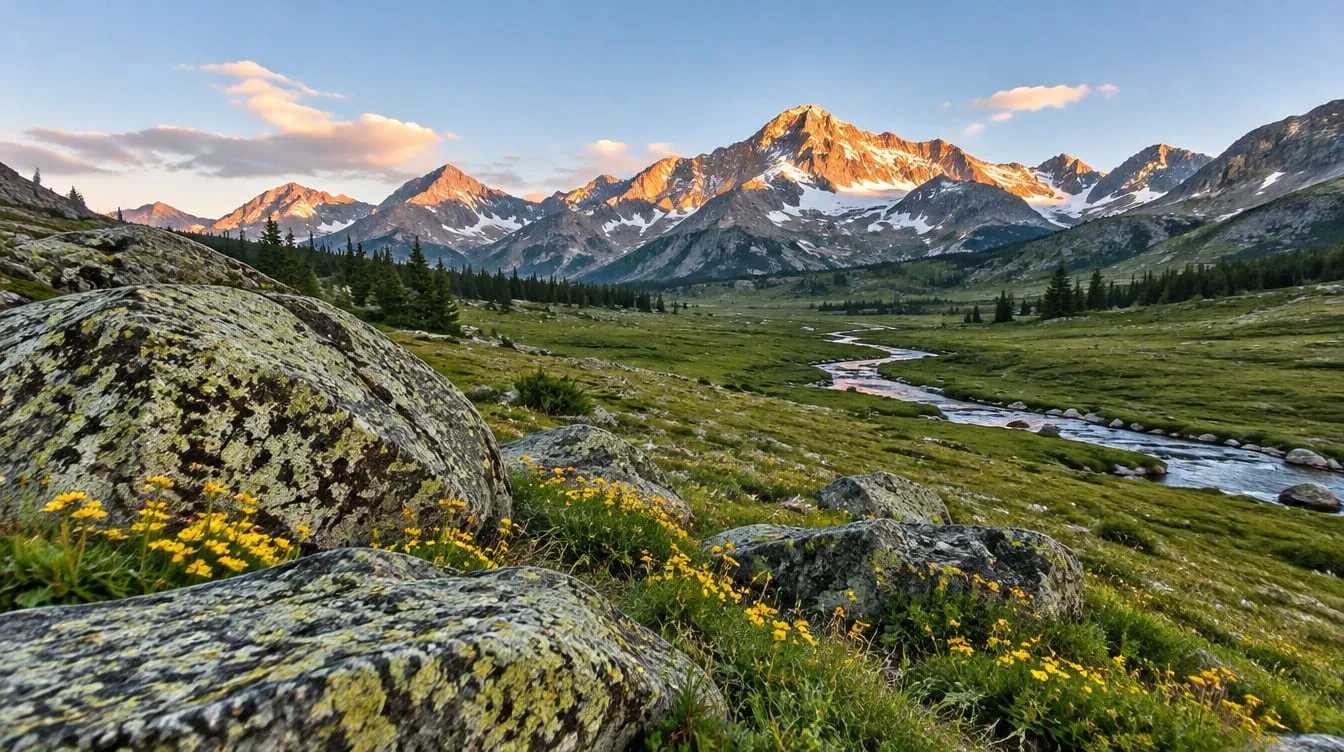
This means that when you choose an aperture you are making two decisions at once: how much light, and how much depth of field. In a landscape with a nearby foreground you usually want sharpness throughout, so a medium-to-small aperture. In a portrait, or an isolated detail, you want a soft background, so a wide aperture.
Two practical limits to know, without treating them as absolute rules:
- Wide open, many lenses are softer, especially toward the edges, and perform best a stop or two down. It depends on the lens: testing is the only way to know.
- Stopped way down (f/16 and beyond on many cameras), diffraction softens the image. Here too the exact value depends on the sensor, so there is no number that fits everyone.
That is why, for landscapes, something around f/8 to f/11 is a widely used starting point: it sits away from both extremes. It is a starting point, not a rule.
What does shutter speed do?
It decides whether movement is frozen or blurred. A short shutter speed stops the subject; a long one turns it into a streak. This applies to a subject moving in the frame and to you: if the camera moves while the shutter is open, the whole image blurs.
Shutter speed depends on three things: how fast the subject moves, how far away you are, and the focal length you use. No single speed works for everything. Two rough guides, to be taken as such:
- Handheld, the most quoted rule of thumb is a shutter speed no longer than 1/focal length (with a 50 mm lens, 1/50 or faster). It is an estimate: image stabilization pushes it toward longer speeds, while high-resolution sensors tend to push it toward shorter ones.
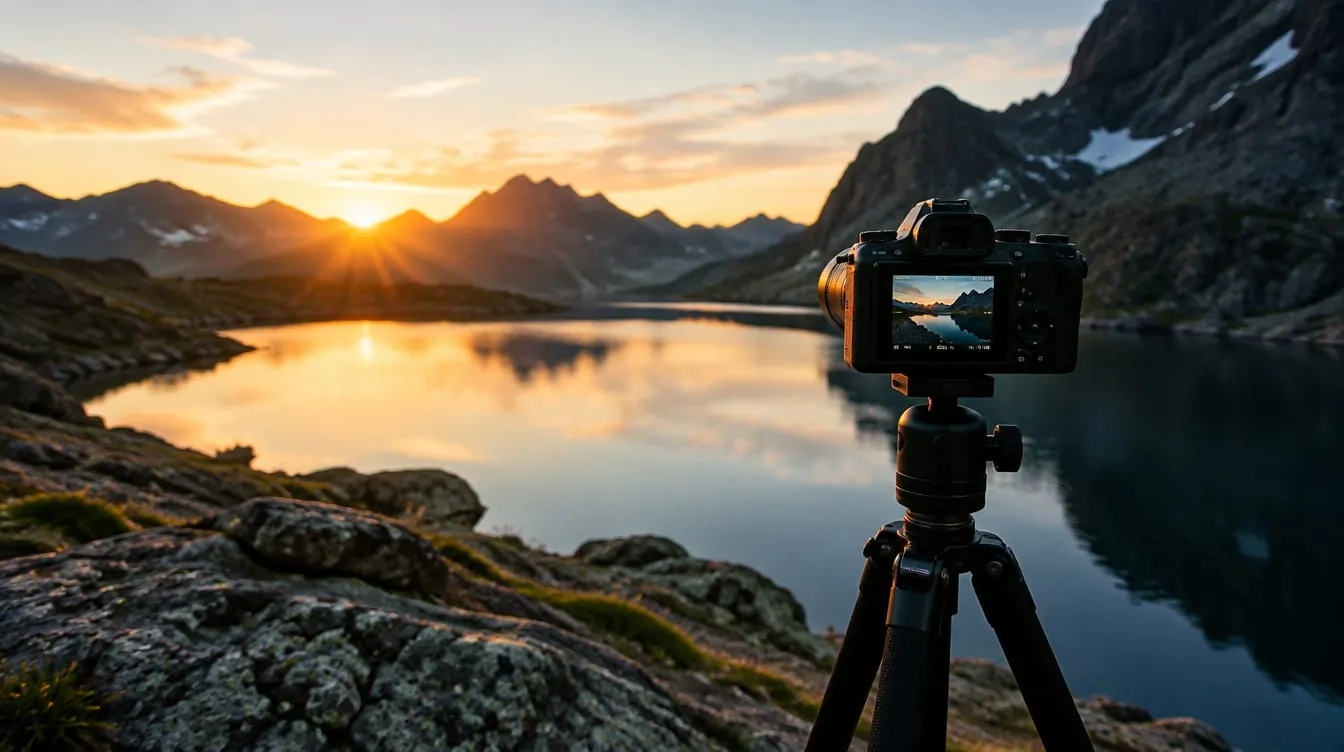
- On a tripod the handheld limit disappears and only subject movement remains. This is where a long shutter speed becomes a creative tool.
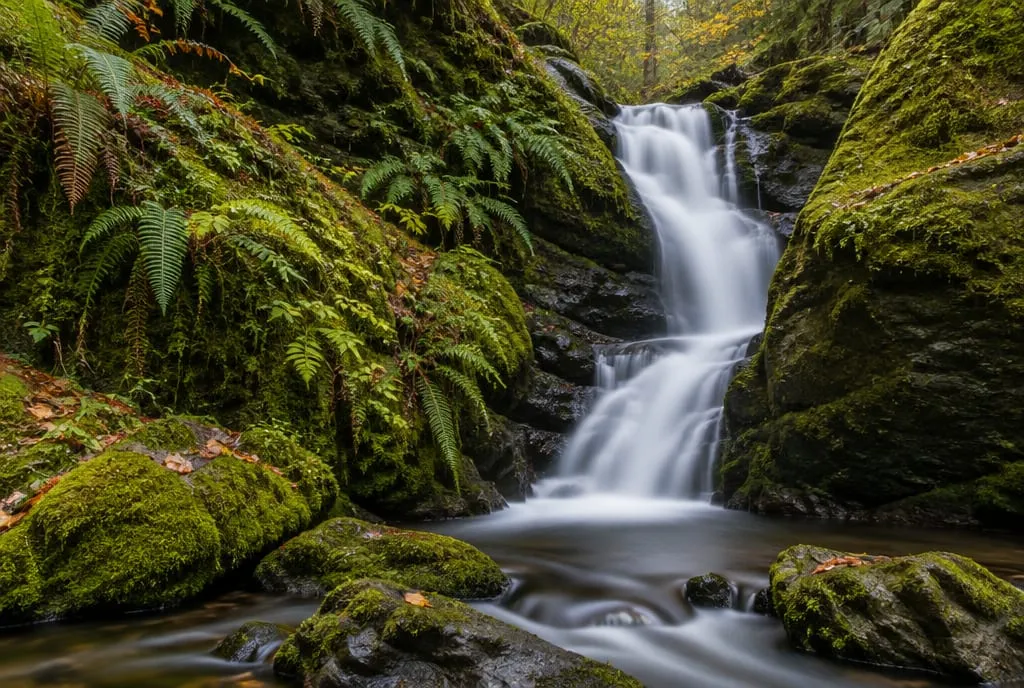 With a long shutter speed and a still camera, the water turns into a smooth ribbon while the moss and rocks stay sharp: same scene, two ways of rendering movement. Image generated to illustrate the concept, not a photo of a real place.
When there is too much light for a long shutter speed, an ND filter (neutral density) removes light without touching the other settings. A 3-stop ND, for example, lets you go from 1/60 to 1/8 at the same aperture and ISO.
What does ISO do, and why do sources disagree?
ISO sets how much the recorded signal is amplified: doubling it is worth one stop of extra brightness. Raise it and the photo gets brighter for the same light, but noise (grain) shows more. According to Cambridge in Colour, unlike aperture and shutter speed, a lower ISO is almost always preferable, because higher ISOs increase noise considerably.
Here the sources diverge, and it is worth saying so. Photography Life presents ISO as one side of the triangle and, in the same article, warns that it simplified things “especially when it comes to ISO”. In the comments under it, readers object that exposure in the strict sense is the amount of light hitting the sensor (decided by the scene, aperture and shutter speed), while ISO comes in afterward, in the amplification and conversion to brightness. In that reading, noise depends mostly on how little light you collected, not on the ISO number itself.
You do not need to pick a side to shoot better, because both readings lead to the same practical rule. First try to get more light with aperture and shutter speed (tripod, wider aperture, longer shutter speed if the subject is still). Raise ISO only when you can no longer gain light, and only as much as you need. Our blue hour guide includes a test for comparing noise between low ISO with a long exposure and high ISO with a short one.
How do you balance the three? Equivalent exposures
Every time you move one control a stop in one direction, you move another a stop in the opposite direction. The final brightness stays the same and only the look changes. These are equivalent exposures: Cambridge in Colour shows how different aperture and shutter speed pairs give the same exposure.
Start from a scene that gives a correct exposure at f/2.8, 1/500 and ISO 100. Here are some equivalent combinations:
| Aperture | Shutter | ISO | What you gain | What you give up |
|---|---|---|---|---|
| f/2.8 | 1/500 | 100 | Very blurred background, frozen subject | Very little depth of field |
| f/4 | 1/250 | 100 | A bit more depth, still a fast shutter | Less background blur |
| f/5.6 | 1/125 | 100 | Subject and context sharper | Fast movement starts to show |
| f/8 | 1/60 | 100 | Wide depth of field | Needs a tripod or a still subject |
| f/11 | 1/30 | 100 | Sharpness across the whole scene | Any movement blurs |
| f/8 | 1/250 | 400 | Depth of field and fast shutter together | More noise (two stops of ISO) |
Look at the last row: starting from f/8 and 1/60, you go to 1/250 (two stops faster) and compensate with two stops of ISO, from 100 to 400. Brightness is the same, but now you can shoot handheld with a moving subject, at the cost of some noise. That is the “price” of every stop you move.
Remember that the equality holds for brightness, not for everything. Every row produces a different photo, which is exactly the point: choose the row that matches the photo you have in mind.
Which setting should I start from?
Start from what the photo needs, not from the value you remember. In our method you pick a priority, set it first, and let the other two adjust. One question is enough: what would ruin this photo?
| If the photo is ruined by… | Priority | Set first | Then adjust |
|---|---|---|---|
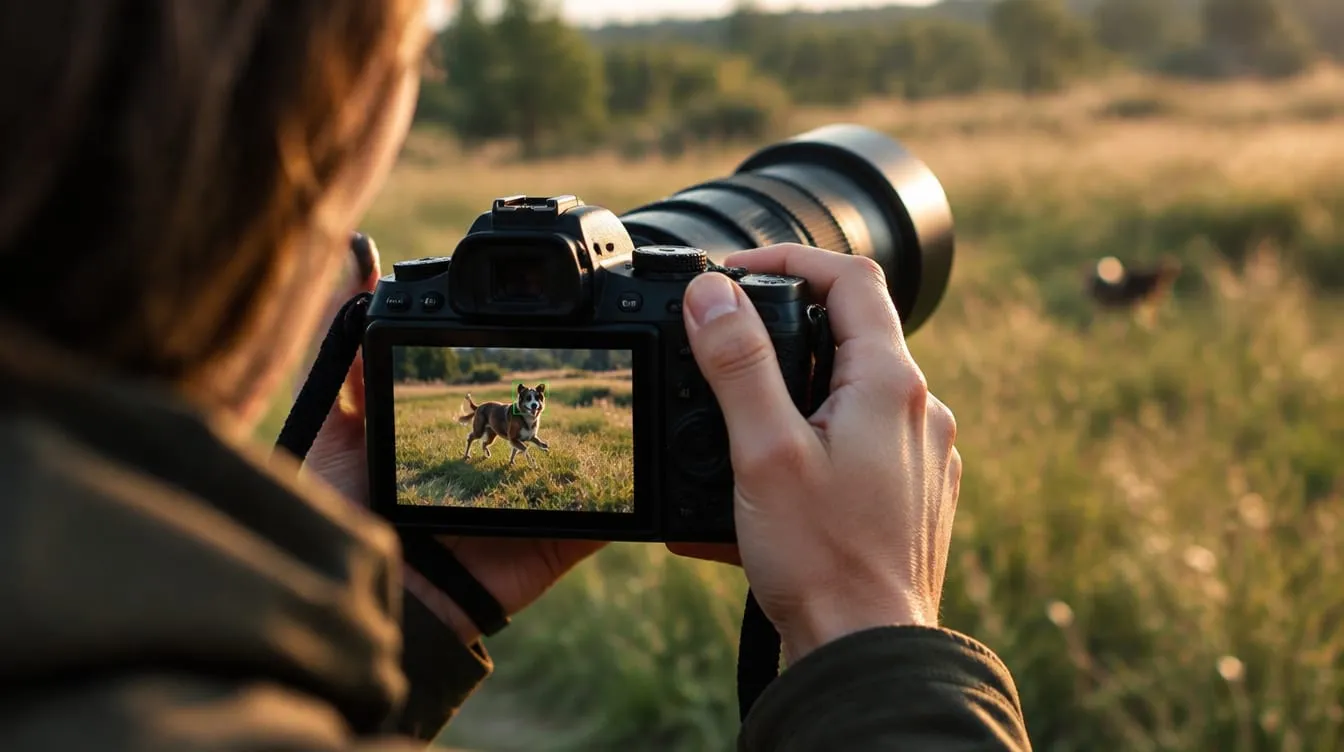
| Blurred movement (sports, animals, kids) | Short shutter speed | Shutter (1/500 or faster is a starting point) | Wider aperture, then ISO |
| A distracting background | Shallow depth of field | Wide aperture (f/2 to f/4) | Shutter, then ISO |
| A foreground and background that must both be sharp | Wide depth of field | Medium-to-small aperture (f/8 to f/11) | Shutter (tripod), then ISO |
| Noise in the shadows | Quality | Base ISO | Aperture and shutter (tripod) |
| Water or clouds that should flow | Long shutter speed | Shutter (fractions of a second to several seconds, on a tripod) | Base ISO, then aperture, then ND |
On our photography tours we often see that people who start in manual change two or three values at once, then cannot tell what produced the result. Change one value at a time, shoot, and look at what happened. It is the fastest way to build intuition.
Which shooting mode should I use: P, A, S or M?
The one that lets you control the value that matters while leaving the others to the camera. The four modes differ in who decides what:
| Mode | You decide | Camera decides | When to use it |
|---|---|---|---|
| P (program) | Almost nothing | Shutter and aperture | When you just need to shoot |
| A / Av (aperture priority) | Aperture | Shutter | Landscape, portraits, anything that depends on depth of field |
| S / Tv (shutter priority) | Shutter | Aperture | Sports, movement, water |
| M (manual) | Everything | Nothing (unless auto ISO) | Stable light, tripod, consistent series |
For most outings, aperture priority with base ISO and exposure compensation is an excellent compromise. It behaves predictably and leaves you free to focus on the value that matters. In manual with auto ISO on, compensation acts on the ISO. For a concrete case of compensation, read snow photography, where the camera is wrong in a systematic way.
How do I know if the exposure is right?
Not by looking at the numbers, but at the image. The camera’s meter looks for an average: it measures the light and proposes a combination that brings the scene to a middle gray. That works in average scenes and fails in the ones that are not, like snow, backlight, or a light subject on a dark background.
After each shot, check three things:
- The histogram. Data piled against the right edge means blown highlights; data piled against the left edge means clipped shadows. The screen shows a JPEG preview, not the RAW: leave a small margin from the edges.
- Overexposure warnings (the “zebras” or blinkies), if your camera has them.
- The spot you care about. If the subject is bright but the camera rendered it gray, you need positive compensation. If it is dark and the camera brightened it, negative.
A “correct” exposure is not a fixed target. B&H notes that the goal is not necessarily a “proper” exposure: it is to let in the light needed to create the image you have in mind. A deliberately underexposed silhouette and a high-key face are right exposures for their own photos. How technique fits into the overall judgment is covered in how to tell if a photo is good.
Which settings should I use in common situations?
Treat these rows as starting points to adapt to the light you have, not as recipes. Their job is to keep you from starting from zero.
| Situation | Aperture | Shutter | ISO | Note |
|---|---|---|---|---|
| Landscape on a tripod | f/8 to f/11 | Whatever it comes to | Base | The shutter can be long, no problem if the scene is still |
| Handheld landscape | f/8 | 1/125 or faster | The minimum needed | Raise ISO before risking blur |
| Portrait with a soft background | f/2 to f/4 | 1/125 or faster | Base | Check that the eyes are in focus |
| Fast-moving subject | Widest useful | 1/500 or faster | As needed | Shutter priority |
| Flowing water | f/11 or smaller | Fractions of a second to several seconds | Base | Tripod, and ND if there is too much light |
| Dark scene, handheld | Wide open | Longest that is safe for the focal length | High, as little as needed | Better a slightly noisy photo than a blurred one |
If you wonder why your photos look dull even with the right exposure, the cause is not always technical: you will find it explained in why do my photos look flat. And to see how available light shapes these choices, start from how to read light in photography.
How does Framia evaluate this?
Technique is one of Framia’s six categories, along with composition, light, optics, color and storytelling. You get a score from 0 to 100 and an explanation of what works and what does not, so you can compare your own reading of the exposure with a second opinion. The score does not replace your eye: it is one more point of view on a shot you have already taken.
What to do next
A five-step test to see for yourself what you buy and what you pay when you move each control. You need your camera, a tripod or a stable surface, and a scene with something that moves (a curtain, a plant in the wind, someone walking).
- Lock the framing and set manual mode with base ISO. Start at f/4 and find the shutter speed that gives a correct exposure by checking the histogram.
- Run the aperture ladder. Shoot five photos going from f/4 to f/5.6, f/8, f/11 and f/16. At each step lengthen the shutter speed by one stop (double it) to keep the same brightness.
- Compare on screen, zooming to 100%. Where does the background sharpness begin? How is the moving element rendered? Write it down.
- Run the ISO ladder. Go back to f/8 and the shutter speed you used there, then go up to ISO 400 and 1600, shortening the shutter speed by two and four stops. Zoom into the darkest shadows and see when the grain appears.
- Write your personal rule in one sentence, for example: “With a still subject I use f/8 and base ISO; with fast movement I start at 1/500 and raise the ISO.”
When you have your series, upload your favorite shot to Framia and look at the technique score.
FAQ
Can I just shoot in auto and ignore the triangle?
You can, but you hand the camera the very choices that change how a photo looks. Auto aims for a correct average brightness, not the look you want: it does not know whether you prefer a blurred background or silky water. A middle path is aperture priority or shutter priority, where you pick one value and let the camera handle the rest.
Can a wrong exposure be fixed in editing?
Partly. A RAW file tolerates moderate correction, and dark areas recover better than blown ones: where the sensor has clipped, the information is gone. Motion blur and the wrong depth of field cannot be fixed with a slider, and brightening a very dark photo exposes its noise.
Why is my photo still dark with the aperture wide open?
Usually because the shutter speed is too short for the light you have. You have three levers: lengthen the shutter speed (on a tripod, if the subject is still), raise the ISO, or move to a brighter spot. Also check that you have not left a negative exposure compensation dialed in.
What is the best ISO?
The lowest one that lets you get the shutter speed and aperture you need. Base ISO (often 100, on some cameras 64 or 200) is the starting point, and you raise it only when you cannot gather more light. There is no single best value, because noise also depends on how much light you collected and on the camera.
Does any of this change on a smartphone?
The principle is the same, but most phones have a fixed aperture for each lens and make many decisions for you. In manual or Pro mode you can usually set shutter speed and ISO; for aperture, you can generally only choose which lens to use.