Hyperfocal Distance for Landscapes: A Practical Guide
 by Marco Carotenuto · · 10 min read
You have a rock a metre from the lens and mountains on the horizon. Where do you focus? Pick the rock and the mountains go soft; pick the mountains and the rock turns to mush. Hyperfocal distance is the way out: a specific point between the two that keeps as much of the scene sharp as possible.
This guide covers what it is, how to find it with a ready-made chart, how to actually set it in the field even without a distance scale, and when you are better off ignoring it. At the end there is a half-hour test that shows you the result in your own photos.
What is hyperfocal distance?
It is the closest focus distance at which infinity still looks acceptably sharp. The useful property, also laid out by Cambridge in Colour, is simple: focus at the hyperfocal distance and depth of field runs from half that distance all the way to the horizon. With a hyperfocal distance of 2 m (about 6.5 ft), everything from 1 m onward is sharp.
Two things to keep in mind:
- Acceptably sharp is not perfectly sharp. Only one plane is truly in focus; in front of and behind it, sharpness falls off gradually, and depth of field is the zone where you cannot see the drop. Where that zone ends depends on the circle of confusion, the largest a blurred point can get before the eye reads it as blurry.
- It depends on three things: focal length, aperture and sensor format. The smaller the aperture and the shorter the focal length, the closer the hyperfocal distance moves toward you.
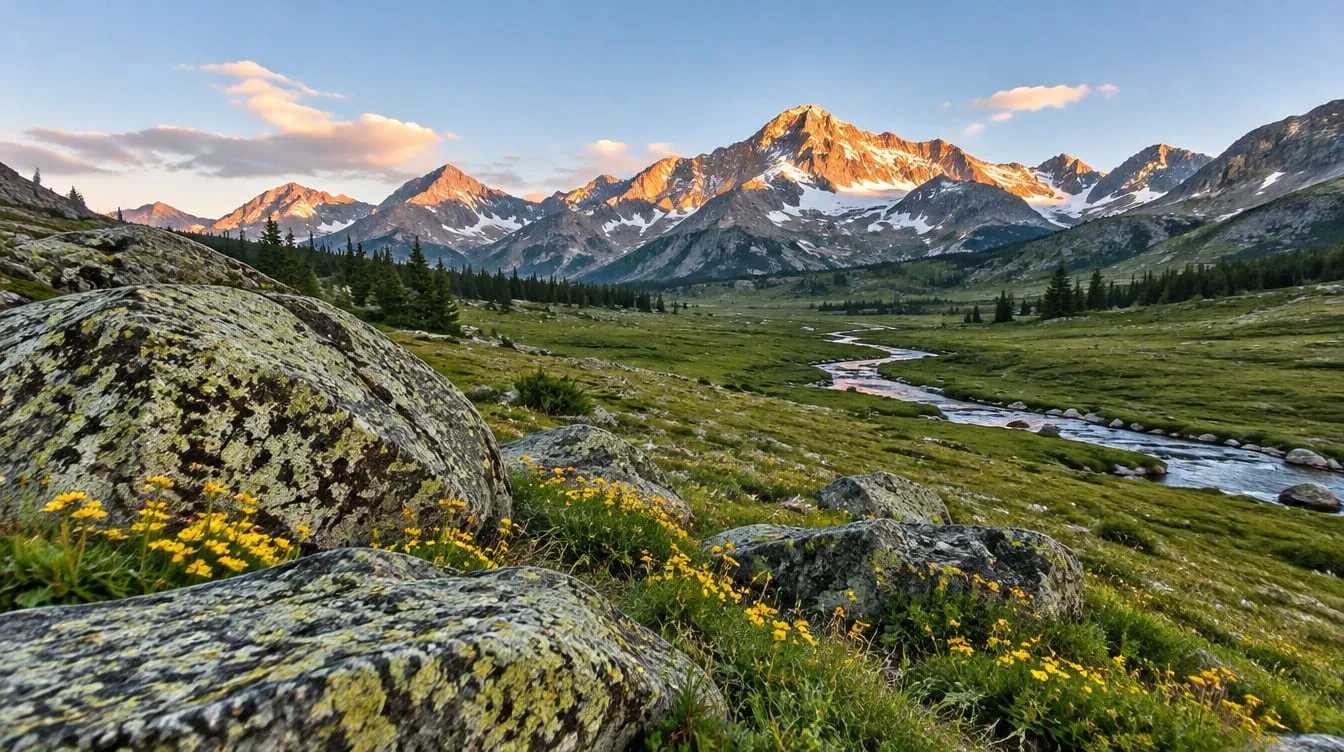
 Focused on the foreground at a wide aperture: the lichen is sharp, the mountains are not. This is the problem hyperfocal focusing helps solve. Image generated to illustrate the concept.
On our photography tours we often see the opposite mistake: people focus on the mountains, because they feel like the important subject, and the foreground they composed so carefully comes out soft. With a wide-angle lens and something close to the camera, focusing “on the subject” is not enough. You have to choose a distance.
How do you calculate hyperfocal distance?
With a formula, or with a chart that has already done the maths. The formula is:
H = f² / (N × c) + f
where f is the focal length in millimetres, N the f-number and c the circle of confusion. Many guides, including Canon’s, drop the final “+ f”, which only shifts the result by a few centimetres. Canon gives 0.030 mm as the circle of confusion for full frame and 0.019 mm for its APS-C cameras, with this example: a 28mm lens at f/16 on full frame has a hyperfocal distance of about 1.6 m.
You do not need to do sums in the field. We calculated this chart with the full formula, using 0.03 mm for full frame and 0.02 mm for APS-C (Canon’s 0.019 mm gives slightly longer distances):
| Focal length | Full frame f/8 | Full frame f/11 | APS-C f/8 | APS-C f/11 |
|---|---|---|---|---|
| 16mm | 1.1 m / 3.5 ft | 0.8 m / 2.6 ft | 1.6 m / 5.3 ft | 1.2 m / 3.9 ft |
| 20mm | 1.7 m / 5.5 ft | 1.2 m / 4.0 ft | 2.5 m / 8.3 ft | 1.8 m / 6.0 ft |
| 24mm | 2.4 m / 7.9 ft | 1.8 m / 5.8 ft | 3.6 m / 11.9 ft | 2.6 m / 8.7 ft |
| 28mm | 3.3 m / 10.8 ft | 2.4 m / 7.9 ft | 4.9 m / 16.2 ft | 3.6 m / 11.8 ft |
| 35mm | 5.1 m / 16.9 ft | 3.8 m / 12.3 ft | 7.7 m / 25.2 ft | 5.6 m / 18.4 ft |
To see where sharpness starts, halve the number: a 24mm at f/11 on full frame, focused at 1.8 m, is sharp from about 0.9 m (3 ft) to infinity.
You will notice that, at the same focal length, APS-C gives longer distances. At the same framing, though, it is the other way round: to match the field of view of a 24mm on full frame you use about a 16mm on APS-C, and at f/8 the hyperfocal distance drops from 2.4 m to 1.6 m. If you want a refresher on balancing shutter speed and ISO once you stop down to f/11, it is all in the exposure triangle.
How do I focus at the hyperfocal distance without a distance scale?
Find something at that distance, focus on it, then lock focus. The steps work with any lens:
- Camera on a tripod, framing and focal length decided. If you zoom afterwards, the distance changes.
- Measure from the sensor. Canon suggests starting from the focal plane mark on the camera body and pacing it out if you know your stride, or using a tape measure.
- Find a marker at that distance: a stone, a tuft of grass, your backpack on the ground.
- Focus on the marker manually with the image magnified on the screen, or in AF-S with a single point, then switch to manual. If focus modes are still a blur, see autofocus modes explained.
- Leave the focus ring alone and take the shot.
If your lens has a distance scale, or your mirrorless camera shows a distance indicator when you turn the ring in manual, you can dial the value in directly. Photography Life flags two catches, though: many zooms leave aperture markings off the scale because they could not be accurate across the whole zoom range, and not every scale is accurate. Check with a test shot before you trust it.
Where do I focus with a close foreground?
At double the distance of the foreground, with an aperture that makes the hyperfocal distance equal to or shorter than that doubled figure. It is the fastest field method, and it is the same property read backwards: if sharpness starts at half the focus distance, a rock 1 m away needs focus at 2 m.
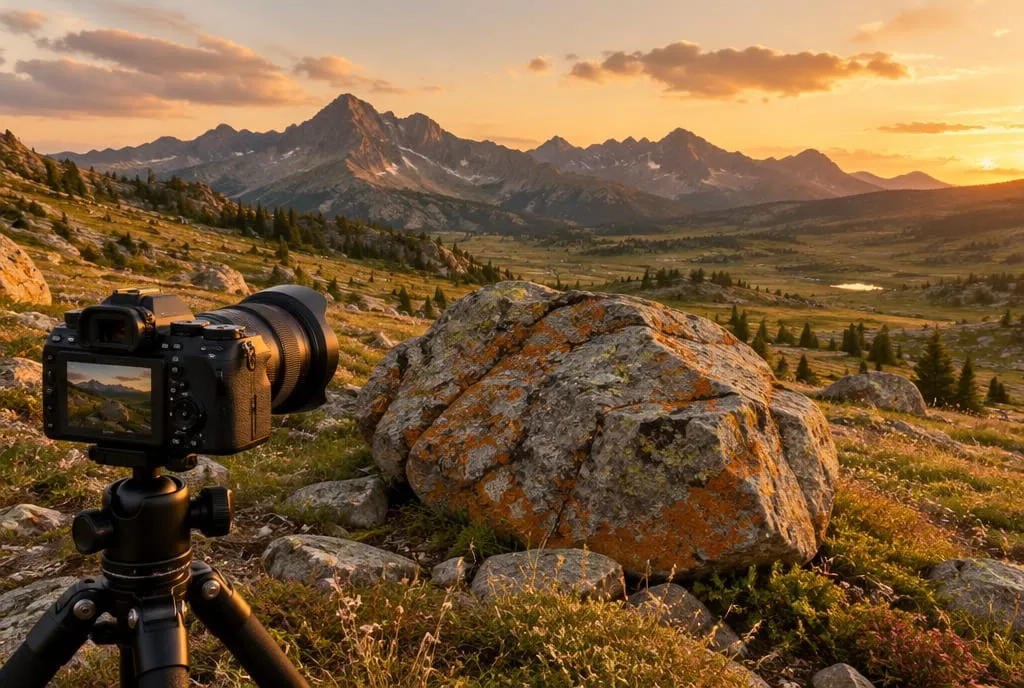 The boulder a few steps from the lens is the closest thing that has to be sharp: its distance decides where you focus and how far you stop down. Image generated to illustrate the concept.
In practice, with a 24mm on full frame and a boulder 1 m (about 3.3 ft) away:
- you need a hyperfocal distance of 2 m or less;
- from the chart, f/8 gives 2.4 m (not enough) and f/11 gives 1.8 m (enough);
- set f/11 and focus at 2 m: sharpness runs from about 0.9 m to infinity.
What if the boulder is 40 cm (16 in) away? With the same 24mm you would need a hyperfocal distance of 80 cm, and even f/16 (about 1.2 m) does not get there. As both Photography Life and Photo Cascadia point out, no aperture fixes that: you can step back from the foreground, or shoot several frames with focus shifted and blend them in editing (focus stacking). For choosing and placing that foreground in the first place, see foreground in landscape photography.
Does the “focus a third of the way in” rule work?
As an approximation, not as a rule, and the sources rate it differently. Canon describes it as a method many photographers use, based on depth of field extending roughly twice as far behind the focus point as in front, but adds that it is hard to judge where that third falls and that calculating the hyperfocal distance is better. Cambridge in Colour is blunter: the share of depth of field in front of the focus point changes with distance, and the one-third split is only exact at one particular distance.
The practical problem is that “a third of the scene” is not a number: in a landscape that runs to the horizon, there is no such thing as a third of infinity. Doubling the distance starts from something you can actually measure, your foreground.
Why isn’t the background perfectly sharp at the hyperfocal distance?
Because infinity sits right on the edge of the depth of field: it is just sharp enough, no more. Cambridge in Colour calls this the main drawback of the technique, especially in landscapes made up mostly of distant detail.
Then there is the standard itself. The 0.03 mm full-frame value, Photography Life explains, comes from the film era and corresponds to an 8×10-inch print viewed from about 10 inches. With high-resolution sensors, big prints or 100% views on screen, that margin may not be enough for you. The formula tells you by how much: halve the circle of confusion to be stricter and the hyperfocal distance doubles.
So what do you do?
- If the background matters more, focus a little beyond the calculated distance, as Cambridge in Colour suggests: you lose a bit at the very front and gain in the distant detail.
- If the foreground matters more, do the opposite. Photo Cascadia is clear on this: the hyperfocal point is not always the right place to focus, and the deciding factor is what needs to be sharpest in your picture.
- Don’t stop all the way down just to be safe. Canon advises avoiding your lens’s smallest aperture because of diffraction, and notes that details may look sharper at f/11 than at f/16. Experience differs here: the author at Photo Cascadia often shoots at f/18 to f/22 with results the author considers acceptable. It depends on lens, sensor and final output size, so it is worth testing with your own gear.
When don’t you need hyperfocal distance?
When there is nothing close that needs to be sharp. If the whole scene is far away, say a valley seen from an overlook, focusing on the mountains is simpler and gives a sharper background. When you focus at infinity, sharpness starts at the hyperfocal distance, so if your nearest element is beyond it, you are already covered.
You don’t need it either when you want shallow depth of field, as in an environmental portrait with a soft background. And it is not only a landscape trick: with a wide-angle lens and enough light, Cambridge in Colour notes that presetting focus at the hyperfocal distance avoids focusing errors, cuts shutter delay and makes shooting almost point-and-shoot, which is why street photographers use it too.
What to do next
The four-shot test: half an hour, a tripod, and a scene with something close and a distant horizon.
- Set up. Put the camera on a tripod with a wide-angle lens (16mm to 24mm) and find something detailed, like a rock or a clump of grass, about 1 m (3 ft) from the sensor. The background should stretch far away.
- Pick the aperture from the chart. Find the value that gives a hyperfocal distance of 2 m (6.5 ft) or less for your focal length and sensor. Set shutter speed and ISO to match, and use the self-timer so you don’t shake the camera.
- Shot 1: focus on the foreground. Focus on the rock.
- Shot 2: focus on the horizon. Autofocus on something far away.
- Shot 3: focus at 2 m. Use the marker method described above.
- Shot 4: same focus, two stops smaller aperture (for example from f/11 to f/22).
- Compare at 100% the rock and the horizon in all four frames. Note which gives the best balance, and whether shot 4 gains in the foreground or loses detail everywhere to diffraction.
By the end you will know how far you can trust the chart with your camera, and how far you can stop down before diffraction shows. If you want an outside opinion on the result, upload your best frame to Framia: the Technique category gives you a score and an explanation that help you see whether sharpness holds up.
FAQ
Do I measure hyperfocal distance from the lens or the sensor?
From the sensor plane. Canon suggests finding the focal plane mark on the camera body, a circle with a line through it, and measuring from there. At typical landscape distances the difference from the front of the lens is ten centimetres or so, but with a foreground under a metre away it matters.
Can I use autofocus to set the hyperfocal distance?
Yes. Put a single AF point on something that sits roughly at the calculated distance, focus in AF-S, then switch to manual focus before you recompose, so the camera does not refocus somewhere else when you press the shutter button.
Does zooming change the hyperfocal distance?
Yes, a lot. Hyperfocal distance grows with the square of the focal length: going from 16mm to 32mm at the same aperture makes it roughly four times longer. If you zoom after focusing, redo the calculation and the focus.
Are there apps or calculators for hyperfocal distance?
Plenty, both online and for phones: enter your camera (or sensor), focal length and aperture and you get the distance. Almost all of them use the same formula and the same sharpness standard as the chart in this article, so they share the same limits.