Blue Hour Photography: How to Shoot It With Less Noise
 by Marco Carotenuto · · 11 min read
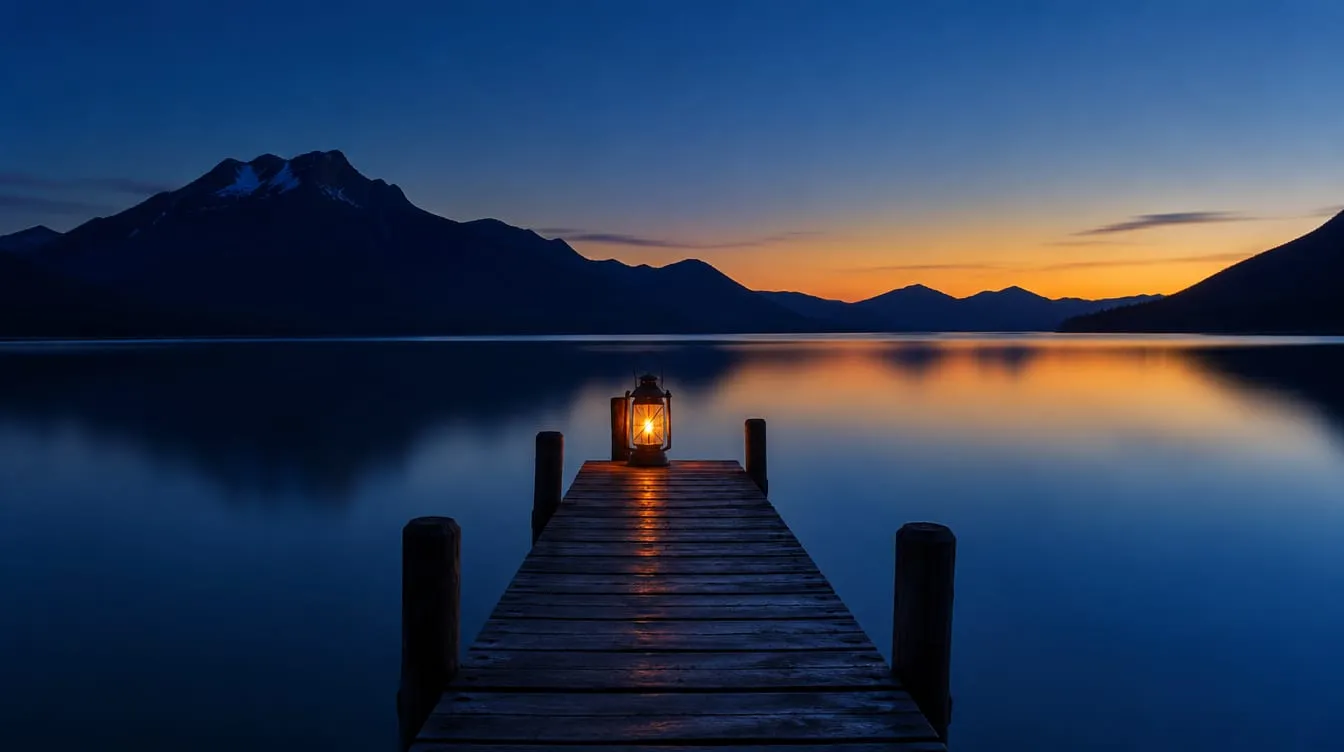
You get to the spot after sunset, the sky is a gorgeous blue, the town lights are coming on. You shoot, and at home you find a grainy frame with muddy shadows and a few colored specks. Most of the time the camera is not the problem: there is very little light at blue hour, and much of the noise comes down to how you handle it.
This guide covers when blue hour arrives and how long it really lasts, why noise shows up and the three levers you have to control it. Then we get practical, with a test you can run in one evening. For the bigger picture on light, start with how to read light in photography.
What is blue hour (and when does it really start)?
It is the part of twilight when the sun is already below the horizon and the leftover sky light is dominated by blue. It has no official definition: as timeanddate points out, it is a colloquial term. Sources measure it differently:
| Source | Sun below the horizon | Note |
|---|---|---|
| timeanddate | 4° to 8° | Covers part of civil twilight and part of nautical twilight |
| PhotoPills | 4° to 6° | Separates golden hour (+6° to −4°) from blue hour |
| Nikon School (Italian) | tied to civil twilight (sun up to 6° below) | Describes it as the moment just before sunrise or just after sunset |
None of these is the “right” one, and you do not need to pick. What matters is the result: a saturated blue sky and light weak enough to demand long exposures. In the evening it comes right after golden hour; in the morning it comes before it. One caveat from PhotoPills: weather, haze and suspended particles also shape the light, so the degrees are a guide, not a guarantee.
Why is the sky blue at this time?
Sources disagree here, and it is worth saying so. Nikon School credits Rayleigh scattering: red light passes through the atmosphere and out to space while blue is scattered. timeanddate says instead that the twilight blue comes from ozone high in the atmosphere absorbing red light, a different process from the one that colors the daytime sky.
For a photographer the practical result is the same: the sky is blue, the light is soft and lacks a strong direction (as Digital Photography School, which I call dPS from here on, points out), and above all there is little of it. That last part is what leads to noise.
How long does blue hour last?
Less than an hour, often much less. timeanddate’s figures show how latitude and season change it:
| Where | When | Blue hour length (sun between 8° and 4° below) |
|---|---|---|
| Near the equator (Quito) | March | about 16 minutes |
| Around 40° latitude (New York, Wellington) | March | about 20 minutes |
| Around 60° latitude (Oslo) | March | about 30 minutes |
| Polar regions in winter | Winter | can last for hours |
dPS gives a range from a few minutes to about 45, depending on weather and location: wider, but consistent with the data above. You do not have time to work out your settings while the light is changing, so check the times with a sun calculator, arrive early and set up beforehand.
Why does blue hour produce noise?
Because the scene gives the sensor little light, and with little light the sensor’s own flaws weigh more against the signal. Photography Life explains it this way, and it is why hot pixels (the colored specks) show up mainly in long exposures and at high ISO.
The takeaway: you reduce noise by collecting more light, not just by lowering a number in the menu. Low ISO is a consequence of that choice, not the choice itself: with a tripod and a still subject you can afford a long exposure, and then ISO can stay at its minimum.
You have three levers, and each has a cost:
| Lever | What you gain | What you pay |
|---|---|---|
| Longer shutter speed (on a tripod) | More light collected, low ISO | Moving water and clouds blur, people smear; at very long times, hot pixels too |
| Wider aperture | More light, shorter exposures | Less depth of field: background or foreground can go soft |
| Higher ISO | Fast shutter speeds without a tripod | More visible noise (timeanddate flags this explicitly) |
For a landscape or a cityscape, where the subject holds still, the first lever is the cheapest. For a street scene with people moving, or a portrait, you often need the third.
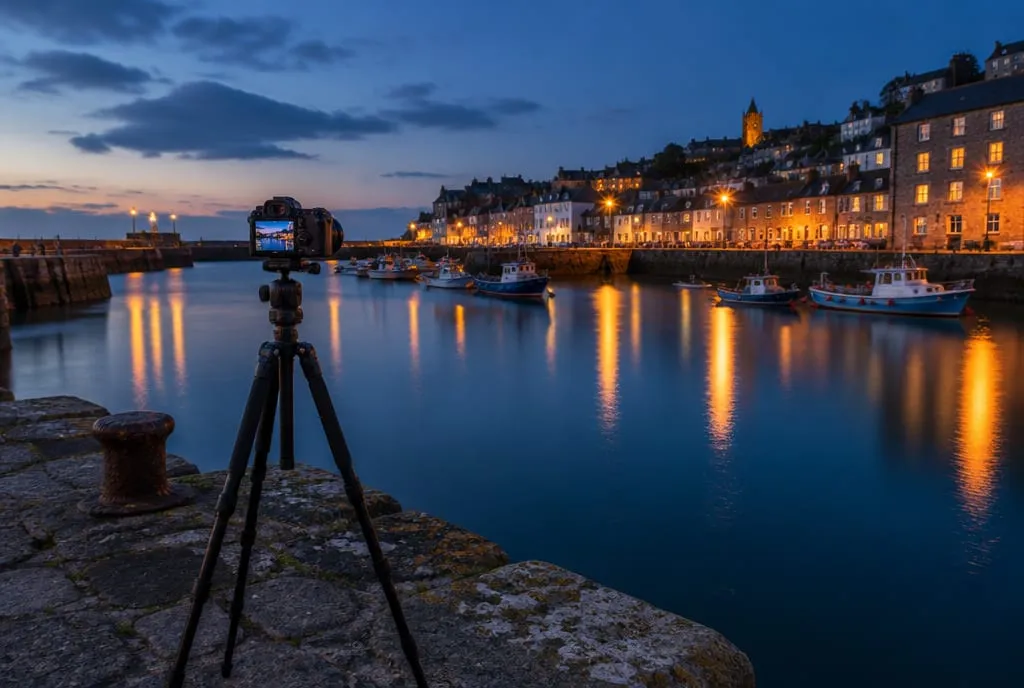 The tripod is what lets you lengthen the shutter speed instead of raising ISO: the water smooths out and the reflections of the lights stretch. Image generated to illustrate the concept; it is not a photo of a real place.
What camera settings should I use for blue hour?
Start from a cautious base and correct it by the histogram. For a landscape, dPS suggests starting at f/8 and ISO 100 and letting the camera pick the shutter speed in aperture priority. It is a starting point, not a rule.
- Shoot RAW. PhotoPills recommends it every time: you get more room to recover shadows and adjust the sky color in editing.
- Put the camera on a tripod. PhotoPills advises turning off lens stabilization on a tripod because it can hunt for vibration that is not there and blur the image; check what your lens manual says.
- Set base ISO (often 100) and an aperture around f/8 for depth of field.
- Let the shutter speed grow. As the light falls you will go from about 1 second to 10 or 20 seconds and beyond, according to dPS. That is normal.
- If you want 10 seconds or longer to smooth water or clouds and the scene is overexposed, add an ND filter (dPS recommends one for this case).
- Check the histogram after every shot, not just the preview: judging brightness by eye on a bright screen in the dark is easy to get wrong.
Every time the sky loses one stop of light, you need double the shutter time at the same aperture and ISO. That is why, shooting a sequence, you will see the times climb with every frame.
How do I expose without blowing the lights or underexposing?
Push the histogram as far right as you can without clipping the highlights that matter. A shot that is underexposed and then brightened on the computer puts the noise front and center in the shadows: you collected less light at the start, and brightening does not give it back.
Here the sources give opposite advice:
- dPS warns that because the scene is dark, the camera may overexpose it and blow out highlights: it recommends negative exposure compensation in aperture priority, or underexposing by one or two stops in manual.
- PhotoPills instead recommends spot metering the brightest area you want detail in and overexposing by one or two stops, because a light meter tends to turn bright things gray.
The difference probably comes down to what the meter reads: the whole scene in the first case, one bright point in the second. Neither rule holds every time, so the working rule is one: decide what must not clip (the lamps? a reflection? the bright edge of the sky?), shoot, and adjust until the histogram nears the right edge without touching it for those elements. If you must underexpose to protect the lamps, know the price is noisier shadows. Remember too that the histogram on the back of the camera comes from the JPEG preview, not exactly from the RAW, as PhotoPills notes: leave a small margin.
When artificial lights are much brighter than the sky, one frame is not enough. dPS suggests taking two shots, one exposed for the lights and one for the rest of the scene, and merging them in editing. The same source says this beats exposing for the lights and brightening the shadows later, because that method introduces a lot of noise. It works if the scene holds still between frames.
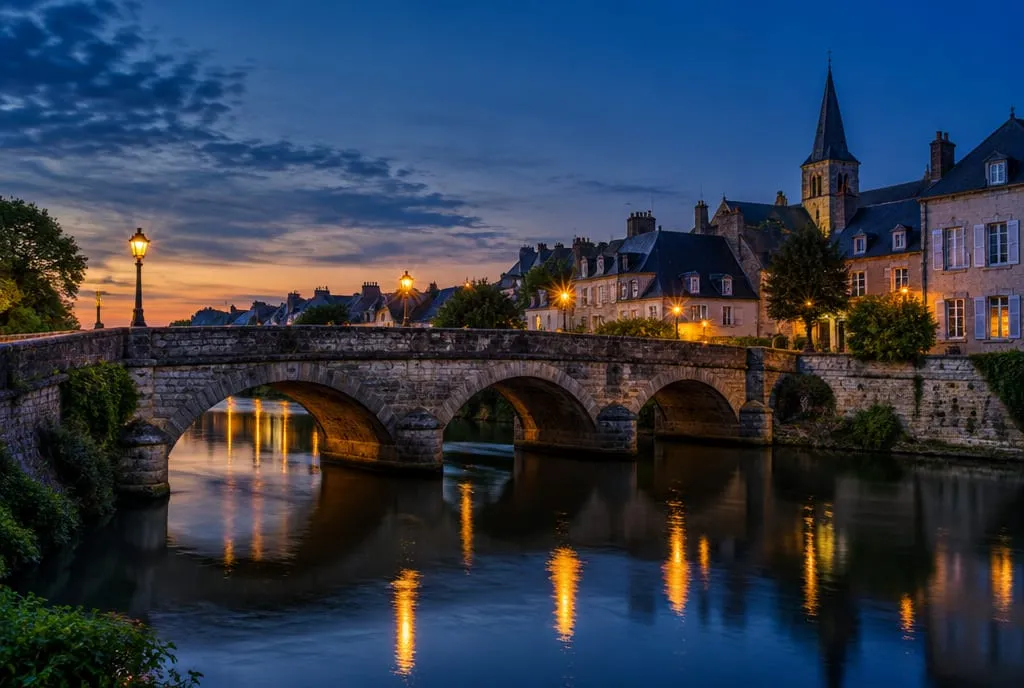 The contrast between the blue sky and the warm street lamps is the signature of city blue hour. Under the arches you can still read the stone detail: that is the result to aim for. Image generated to illustrate the concept; it is not a photo of a real place.
How do I keep the shot sharp at long exposures?
By removing every vibration and focusing before it gets fully dark. A slightly shaken frame can look “dirty” and make you blame noise for what is really a sharpness problem.
- A sturdy tripod. At a few seconds, any movement shows. dPS notes that cheap models struggle to hold a camera, especially in wind.
- Remote release or self-timer. Nikon School and dPS agree: pressing the button can move the camera. A remote or a 2-second timer solves it.
- Focus. In low light autofocus can hunt, and dPS suggests switching to manual. Zoom in on live view and turn the ring until the point is crisp; do it before it gets fully dark.
Should I use long exposure noise reduction?
It depends on how long the exposure is and how much time you have. The feature takes a second frame with the shutter closed, subtracts it from the first and mostly removes hot pixels. According to Photography Life and Nikon’s manual, the cost is that every shot takes about twice as long, and you cannot shoot while it runs. On the D850 it only kicks in above 1 second.
Also per Photography Life, the difference is very visible on a 16-minute exposure and much less on a 2-minute one: at the few seconds typical of blue hour the effect is probably modest, though it depends on your camera. Turn it on if you see colored dots when you zoom to 100% and you are not in a hurry; turn it off if you are shooting a sequence to blend or the light is changing fast. The same author keeps it off by default and enables it only when needed: here too, the test is yours.
What should I shoot, and how do I compose it?
Still subjects, maybe with some moving elements and a few warm lights: cities, bridges, harbors, monuments, lakes with reflections. Sources agree: dPS names landscape and cityscape as the best fits, and timeanddate recommends scenes with warm light areas set against the blue.
A strong composition uses a foreground that leads the eye: a jetty, a path, a reflection. If you are unsure how to choose one, read foreground interest in landscape photography. How much sky to include depends on how interesting it is: see where to put the horizon. And remember that lit lamps pull the eye more than you expect: visual weight explains why one bright lamp near the edge can unbalance a whole frame.
Sunrise or sunset blue hour: which is better?
For the light they are similar. In the evening you get lit windows and more movement; in the morning, per dPS, the scene is quieter and emptier, but you arrive in the dark, so it pays to have seen the place the day before, as dPS and PhotoPills both suggest.
On Framia, AI Planning pulls together light times, weather and shooting spots from what you want to photograph. How blue the sky will be that evening, though, is up to the atmosphere: checking it is still your job.
What to do next
A one-evening test to see how much noise your camera really costs you. You need a still subject with a few lights on (a street, a bridge, a facade) and a tripod.
- Check the sunset time and arrive an hour early. Set up and compose, then set RAW, f/8 and ISO 100.
- When the sky is deep blue, find the correct exposure at ISO 100 (say 8 seconds) and take two more shots of equal brightness changing ISO and time together: ISO 800 at 1 second (three stops more ISO, time divided by 8) and ISO 3200 at 1/4 second (five stops more, time divided by 32). Turn off long exposure noise reduction for this test.
- At home, zoom to 100% on the darkest shadow area and compare the three frames. If you see differences, your camera “pays” for high ISO; if they are minimal, you have more room than you thought.
- Repeat every 5 minutes for about twenty minutes, in aperture priority at ISO 100 and f/8, and write down the shutter speed the camera picks each time: you will see the curve of how fast the light drops.
- Write your rule in one sentence, for example: “under 10 seconds I keep ISO 100; beyond that I open the aperture.”
For a second opinion, upload your favorite frame to Framia and look at the light and technique category scores, with an explanation of what works and what does not. To see how a photo is judged across every criterion, read how to tell if a photo is good.
FAQ
When does blue hour start?
There is no fixed time: it depends on the date and your location. In the evening it follows sunset, in the morning it comes before sunrise. Use a sun calculator such as timeanddate's and look for the moments when the sun is 4° to 8° below the horizon, or 4° to 6° if you follow PhotoPills' definition.
Can I shoot blue hour without a tripod?
You can, but you pay for it. Handheld you need fast shutter speeds, which means a wide aperture and a high ISO, and noise goes up. If you have no tripod, rest the camera on a wall or a stable rock and use the 2-second self-timer: you avoid the shake from pressing the button and can keep ISO lower.
What ISO should I use for blue hour?
The lowest one your shutter speed allows. With a tripod and a still subject that is usually your camera's base ISO (often 100). If moving elements must stay sharp, raise ISO only as much as it takes to shorten the exposure.
Why are my blue hour photos grainy or full of colored dots?
Usually one of two causes: too little light collected (high ISO, or an underexposed shot brightened afterward) or hot pixels, which show up in long exposures when you zoom to 100%. Long exposure noise reduction, if you turn it on, corrects them but doubles the time of every shot.
Morning or evening blue hour?
The quality of light is similar. In the evening you get more lit windows and more movement; in the morning the scene is quieter, but you arrive in the dark, so it pays to have seen the place the day before.