How to Plan a Photography Trip: Light, Weather, Spots
 by Marco Carotenuto · · 10 min read
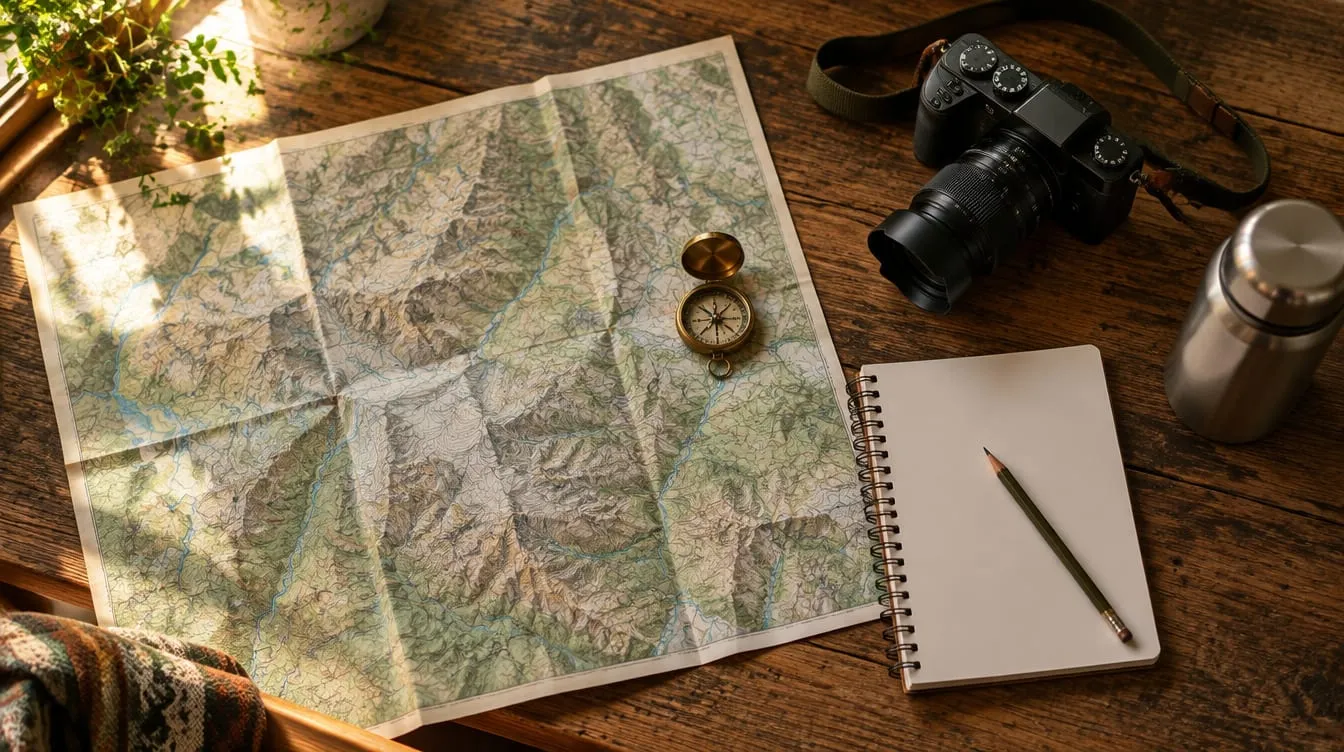
You reach the spot with a charged camera and find the sun already behind the mountain, or the slope you wanted stuck in shade until mid-morning. That is not bad luck: it is a trip that was never planned. An hour at a table and a few checks, done in the right order, prevent most of these surprises.
This guide walks through that order: subject, shooting spots, the sun’s position, weather and a plan B for when the sky will not cooperate. It works for a week abroad and for a Saturday morning near home. At the end you get an exercise and a one-page planner to fill in. If you want the big picture of light first, start with how to read light in photography.
Where do I start when planning a photography trip?
With the subject, not the place. Write down in three words what you want to photograph (“stream in a forest”, “ridge at sunrise”, “market at dawn”) and only then look for the place that allows it. An Italian photography blog we read makes the same point: every outing starts from a source of inspiration or a basic idea, and only afterward do you choose where to go.
The reason is practical: the subject decides what light you need, and the light decides time, season and which side of the place you stand on. If you cannot name the subject in three words, you are not ready to choose a time.
How do I choose shooting spots without going there first?
Use maps and geotagged photos to find candidate spots, then check how to get to them. The guides we consulted follow the same procedure: build a picture of the place from home and, if you can, scout it in person.
From home you can:
- study the terrain on a satellite map, check travel times and, where available, street-level views to see how the landscape will look from the ground;
- browse geotagged photos of the area, not to copy them but to discover spots you did not know about;
- check hiking-route sites when the spot is reached on foot: they show difficulty, elevation gain and downloadable tracks;
- ask people who know the area: local photographers are often glad to answer.
If the place is close, scouting beats everything else. Digital Photography School points out that harsh midday light is rarely good for landscape photography but is fine for exploring. Go exploring when the light is “wrong” so you can return when it is right. For ways to use high sun anyway, see how to shoot in harsh midday sun.
How do I use the sun’s position to choose a time?
Calculate where the sun will be, and how high, for your location and date, then ask which parts of the subject will be lit. With the sun low, one side is lit and the other is in shade, and it flips between morning and evening.
Digital Photography School describes this: a mountain is lit from one side in the morning and from another in the evening, and a photographer who ignores it can end up at a sunset spot at sunrise, with the subject draped in gray shadow. An Italian technique blog recommends SunCalc for exactly this reason, to avoid being on the shaded slope at a time when you expected sun: you enter location and date, move the time indicator and watch the sun’s position change.
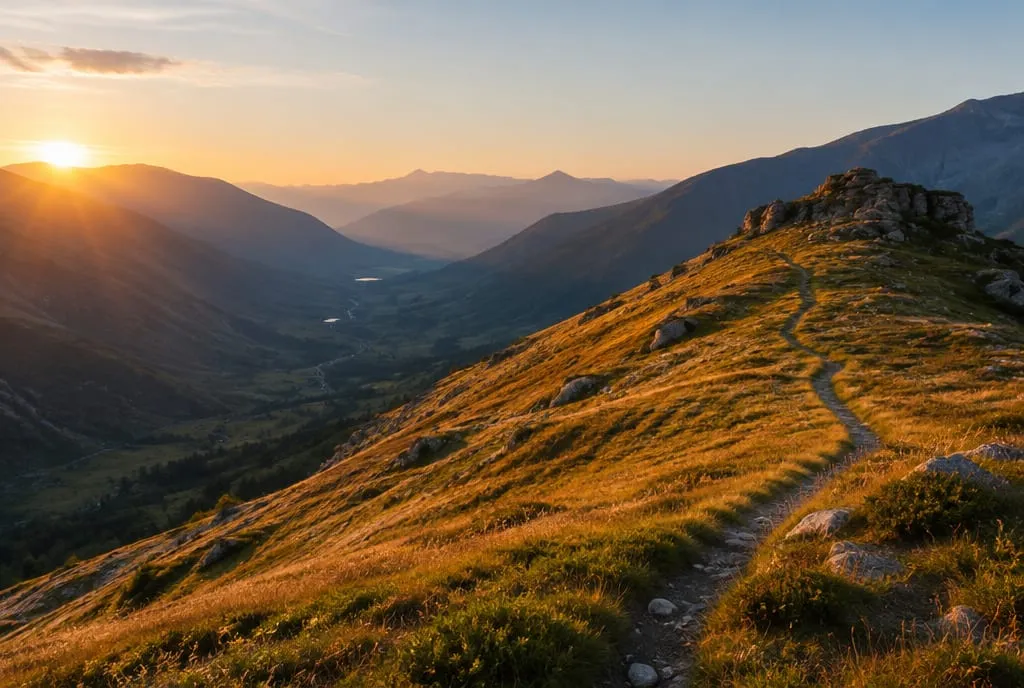 With the sun low, raking light carves the slopes: which sides are lit and which stay in shade depends on the time and the sun’s direction. Generated image to illustrate the concept, not a photo of a real place.
What to ask a sun calculator, and why:
| What to look at | Why you need it |
|---|---|
| Sunrise and sunset times | They are the starting point for deciding when to arrive. |
| Direction where the sun rises or sets | It tells you, relative to where you stand, whether the subject gets front, side or back light. |
| Height of the sun at a given time | The lower the sun, the longer the shadows: see golden hour photography. |
| When the subject leaves (or enters) the shade | It stops you arriving when the slope has already gone dark. |
One note on arrival: get there at least half an hour before the light you want. The best part is short, and that is no time to pick a viewpoint. If you stay after sunset, blue hour follows with a completely different mood.
When should I check the weather, and how far can I trust it?
Three times, each with a different job. Forecasts are often wrong and of little use more than a few days out, but checking repeatedly lets you adjust as they sharpen. This is the rhythm Digital Photography School recommends: a few days before, the night before and just before the shoot.
| When | What you decide |
|---|---|
| A few days before | Whether the trend is acceptable. For now it is only an indication: do not lock everything in based on it. |
| The night before | Where to go, when to set the alarm, what goes in the bag. |
| Just before leaving | Whether to go, move to another area or change subject. |
Weather is not uniform across a large area. The author of the same guide says that when clouds are forecast in one place and clearer sky in another, they head to where the sky is open (in their case, for aurora shoots). The same applies to you: if one area is covered and the next is not, moving the shooting spot a few kilometers can change the whole outing.
A rule of caution: if two forecasts disagree, choose a plan that works under both, for example a spot with a good subject in both sun and diffused light.
What if the sky does not cooperate?
You have a plan B, chosen in advance, rather than a decision made on location in the rain. The sky changes the light and the light changes which subjects work: the same rules you see in hard light vs soft light.
| Expected sky | Light you can expect | Subjects that work | What to avoid |
|---|---|---|---|
| Clear | Direct light, sharp shadows; low and raking in the morning and evening | Landscapes with relief, backlight, silhouettes | Full midday, if the subject is delicate |
| Overcast, solid | Diffused light, low contrast | Forest, water, details, color | Wide views with lots of sky: it is often a gray area with no detail |
| Scattered clouds, open horizon | Variable: the sun may slip under the clouds or stay hidden | What you chose, with more frames | Deciding too early that you have “lost” the light |
| Bad weather | Depends; it can be very atmospheric | Subjects you have already located nearby | Taking risks on the route: safety comes before the photo |
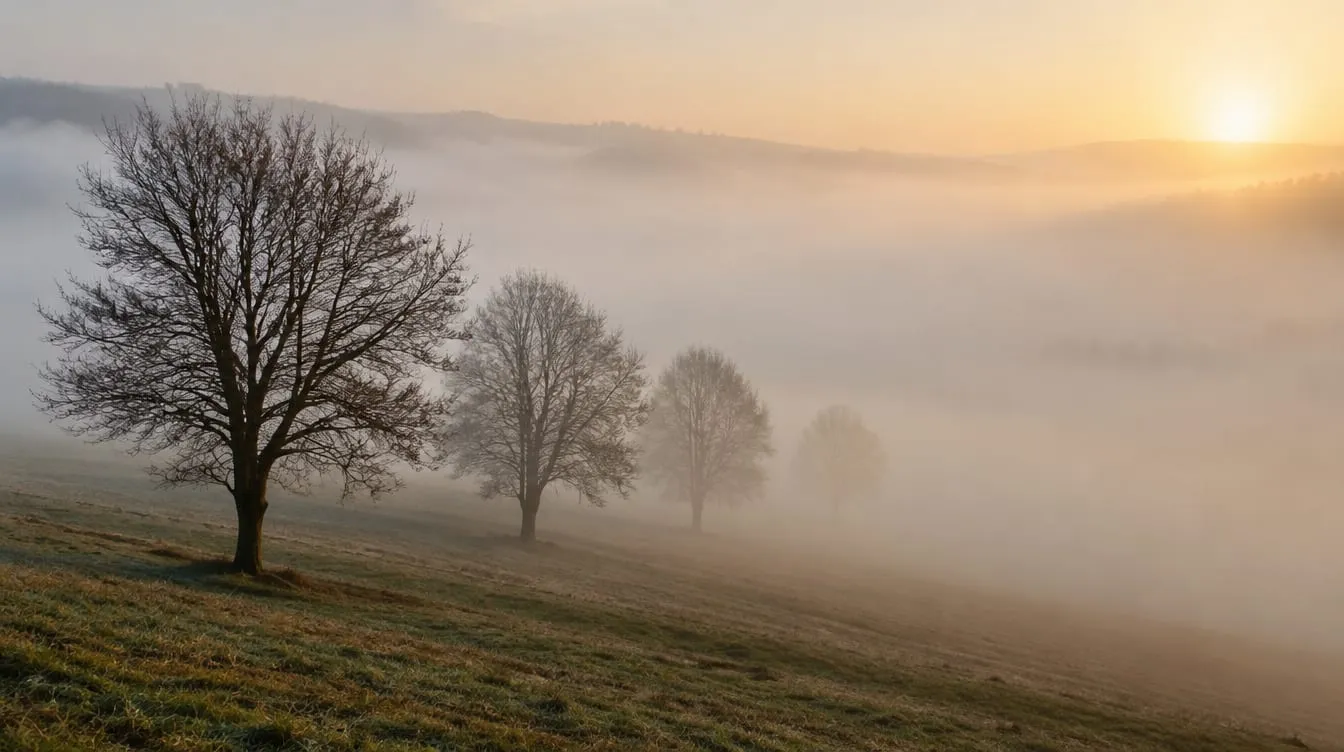
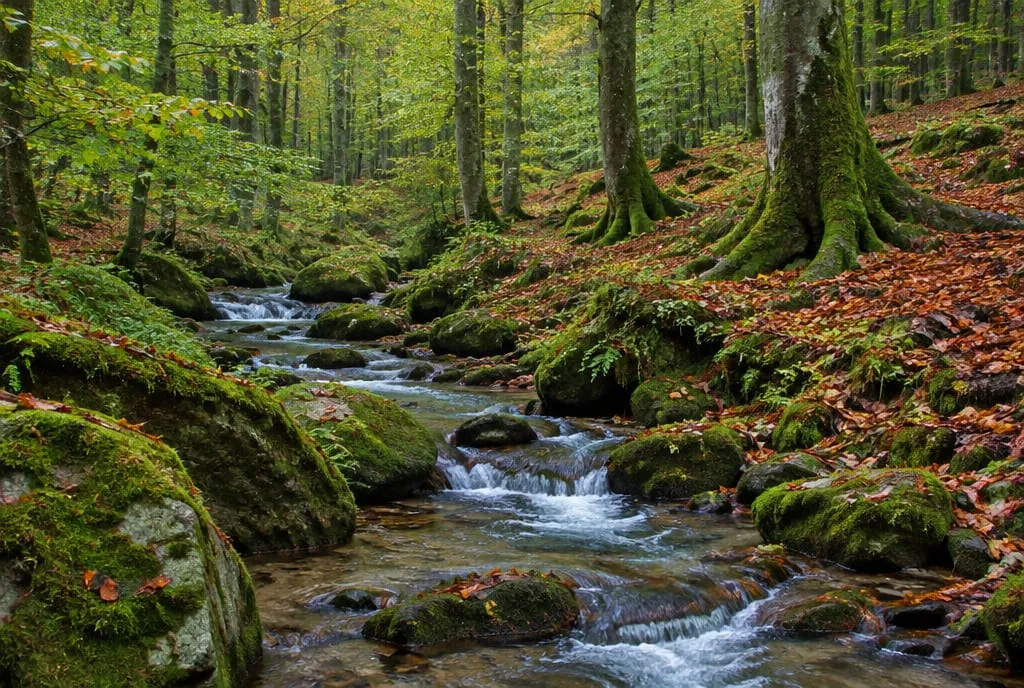 Plan B for an overcast sky: a subject that works in soft light, framed without sky. Generated image to illustrate the concept, not a photo of a real place.
Plan B works if you picked it on the map before leaving: a wood, a stream or a village near the main spot. Under a solid overcast, include as little sky as you can, or none: on its own it usually adds little. Plan C is for when the place cannot be reached (a landslide, a closed road, too much snow): a nearby alternative is enough.
No forecast tells you for certain whether a cloud will cover the sun at the moment you care about. That is why staying a little longer than planned, and shooting, is worth more than any calculation.
How much time and daylight do I get in the season I chose?
It depends on the season: daylight varies a lot with the time of year and the latitude. Visual Wilderness explains it with Iceland, where in summer the sun barely sets and in winter some days have only a few hours of light: knowing how much light you have is key data for building an itinerary.
Season changes the plan wherever you shoot:
- Short days: less time between one spot and the next, so choose fewer spots and arrive earlier.
- Very early summer sunrise: if the best spot is at dawn, pick lodging close to it so the early alarm hurts less (Visual Wilderness makes the same suggestion).
- Season and subject: some subjects have a season. An extreme example from Digital Photography School: the northern lights need dark nights, and someone who looks for them in July in northern Alaska will not find them, because in midsummer the sun does not set there.
What do I carry, and how do I stay safe?
Carry little, and what your plan needs. An Italian technique blog recommends traveling light (camera, tripod, one or two lenses at most) and not expecting a whole series in a couple of days: better to return to the same place and give a single photo the time it deserves.
A basic list to adapt:
- Charged batteries (they drain faster in the cold) and empty cards.
- A tripod, if you expect long exposures or dim light.
- A headlamp, if you start in the dark or finish after sunset.
- Warm layers and a waterproof: you stand still at dawn and feel colder than you expect.
- For remote areas, a way to find your route back, for example a GPS that records your track: the same blog notes that a map and compass are not enough for someone who cannot use them.
And two rules that always apply: tell someone where you are going and when you expect to be back, and decide in advance a turn-around time, even if the light is getting better.
How much should I plan, and how much should I leave to chance?
Plan to be in the right place at the right time, then leave room for what you find. The Visual Wilderness author warns that building a whole trip around a single photo seen online can become a limit: if conditions do not cooperate you end up disappointed and may miss excellent opportunities nearby. The approach described is to have good resources and a general plan while staying open to the unexpected.
A plan is a frame: if plan A falls through, you have not failed, you move to B. To judge the result, use how to evaluate a photo.
How can Framia help with planning?
Framia’s AI Planning turns an idea into a field-ready itinerary. You tell it where you want to go and what you want to shoot, and it gives you light times, weather, gear, compositions, shooting spots and a checklist. You can export the plan as a PDF to check offline while shooting or to print; it costs 5 credits.
It does not replace checking the weather the night before and that morning, or your judgment in the field. If you prefer to work by hand, the PDF planner on this page holds the same steps on one sheet.
What to do next
An exercise for this week, for an outing close to home (no more than an hour away).
- Choose the subject in three words and write it at the top of a sheet, or on the planner.
- Mark two shooting spots on a map: a main one (plan A) and one for an overcast sky (plan B).
- Calculate the sun for that day: sunrise, sunset and the moment your subject receives light. Write down your arrival time, with half an hour of margin.
- Check the weather three times (a few days before, the night before, before leaving) and note whether the plan changes.
- Go and shoot 10 frames with plan A. If the sky will not cooperate, switch to plan B without regret.
- At home pick the shot you like most and write one sentence on what worked in the planning and what you would change.
For a second opinion on the result, upload the shot to Framia and look at the light category score: compare it with what you expected when you made the plan.
FAQ
How far ahead should I plan a photography trip?
You can pick the place and subject weeks ahead, and the sun's position can be calculated for any date. The weather is only reliable a few days out, so check it at three moments (a few days before, the night before and shortly before leaving) and keep an alternative ready.
Which apps help me plan the light?
You need a tool that shows where the sun rises and sets for your location and date. The sources we consulted mention SunCalc, where you move the time slider and watch the sun's position change, and The Photographer's Ephemeris, useful for planning around sunrise and sunset times. Pick one and use it every time.
Do I need to scout before I shoot?
If the place is close, scouting is the best option: you can see where the light will fall and which spots will be lit. You can scout at midday, when the light is harsh and less useful for shooting. If the place is far away, satellite maps and street-level views give you at least a feel for the terrain.
Should I cancel if the forecast is bad?
Not necessarily: bad weather can produce striking photos, but it needs preparation and safety margins. Decide on two things, how safe the route is and what you are shooting. If the forecast shifts, you can move to another area or pick a subject that works in flat light.
Can too much planning kill creativity?
It can if you arrive with a single photo in mind. A plan gets you to the right place, at the right time, with the right gear; after that, stay open to what the place offers. Visual Wilderness recommends the same balance: solid resources and a general plan, with room for the unexpected.