Backlit Photography: How to Expose and Keep the Subject
 by Marco Carotenuto · · 9 min read
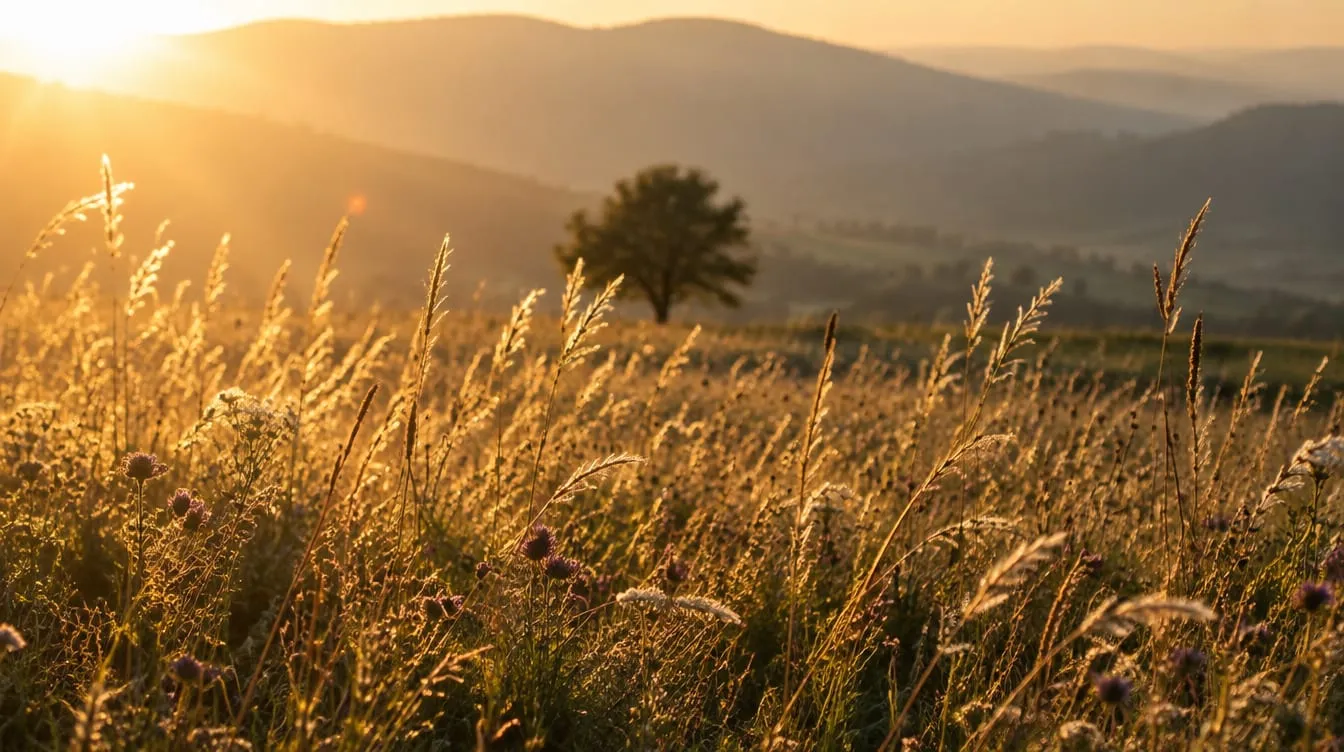
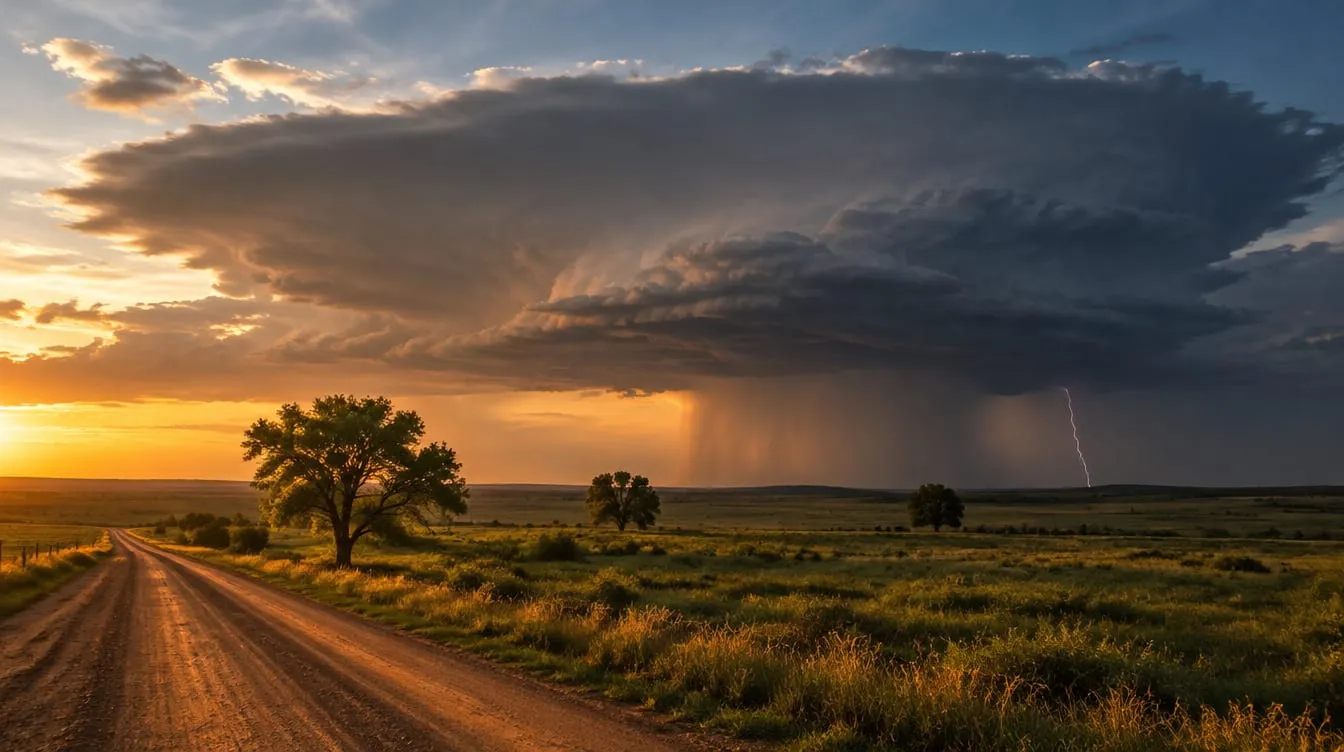
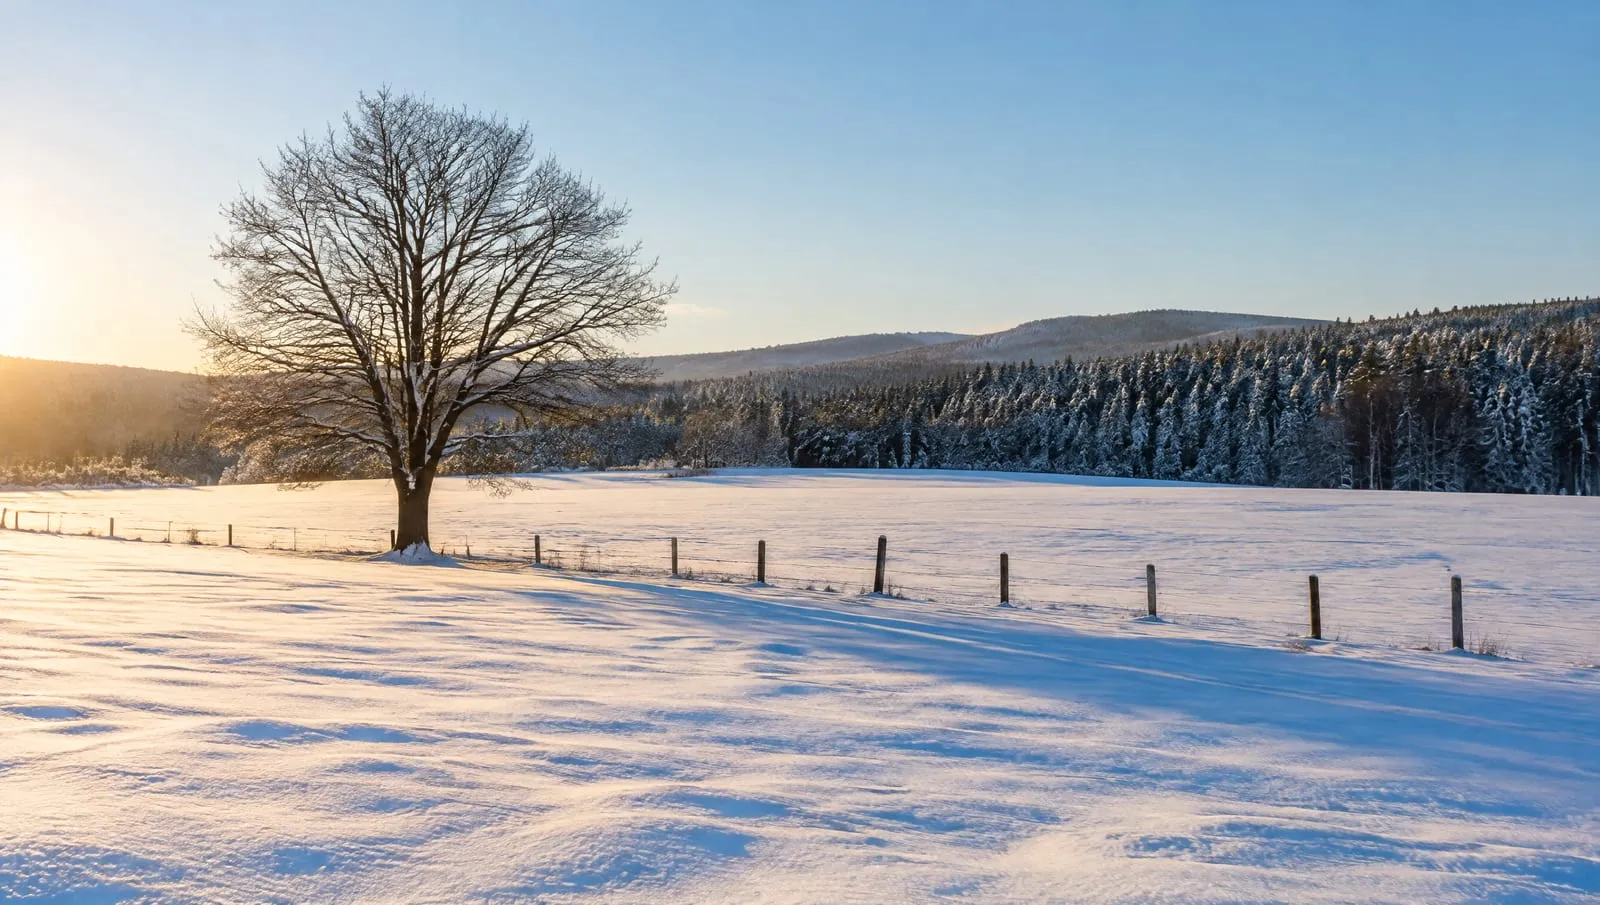
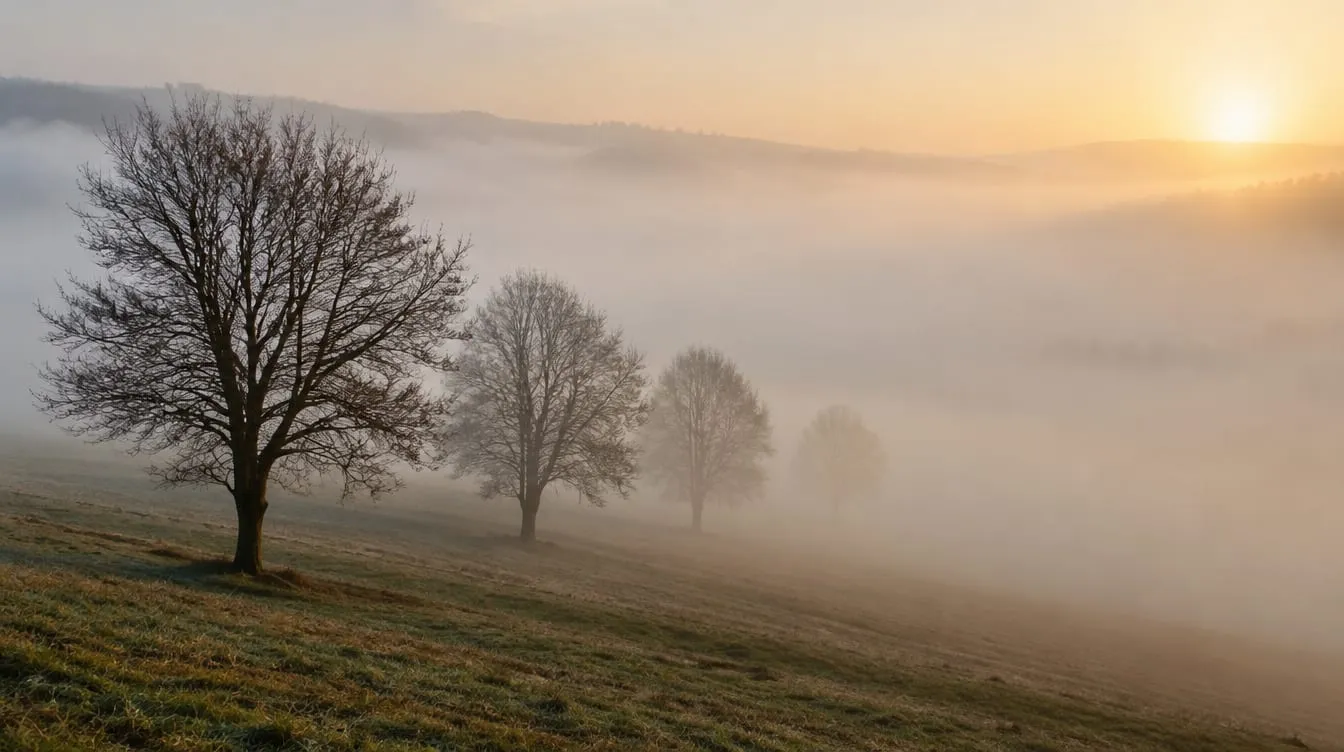
You have a great subject with the low sun right behind it. You shoot, and you get either a black subject under a nearly white sky, or a perfect sky and a subject cut out of cardboard. That is not bad luck: in backlight the camera has a problem it solves badly on its own, and the solution starts with a decision from you.
Below you will find why the meter gets it wrong, the three possible choices (silhouette, subject with detail, both), how to handle the sun in the frame, and an exercise for your next low-light outing. For the bigger picture on light direction, start with how to read light in photography.
Why does backlight confuse your camera’s meter?
Because the meter reads a scene dominated by a very bright background and sets the exposure for that brightness: the darker subject ends up underexposed. As Click Magazine puts it, with bright light in front of you the meter tends to underexpose the image.
Behind that sits a physical limit: the gap between the brightest parts of the sky and the shadows on your subject often exceeds what the sensor records in one frame. You cannot have everything in a single exposure, so you must choose what to sacrifice. In backlight there is no objectively correct exposure, only the one that is right for what you want to show.
What should you protect: the sky, the subject or both?
This question comes before any setting. You have three routes, each with its own way of metering and its own risk.
| Goal | Where you meter | Compensation | What happens | Risk |
|---|---|---|---|---|
| Silhouette: black shape, rich sky | On the sky next to the sun, not on the sun | Zero or negative, check the histogram | The subject loses all detail and becomes a shape | An unreadable subject if the outline is messy |
| Subject with detail: bright background | On the shaded side of the subject (spot) | From zero to +1 stop, then adjust by the histogram | The subject opens up, the background turns bright or white | Blown sky, no recovery |
| Both | On the background, then add light to the subject | Whatever gives the right background | Detail in subject and background | You need flash, a reflector or several frames |
The sources disagree on which of the first two routes to prefer, and that is fine. Digital Photography School (dPS) advises exposing for the highlights and lifting the shadows in post, because clipped highlights are lost information. Click Magazine prefers to meter on the subject and accept a blown background for a bright, high-key look. They are two styles, not a hierarchy: the first protects the sky, the second protects the face.
How do you expose for a silhouette?
Meter on the sky and let the subject go black. A silhouette does not need subject detail: the outline and the colors of the sky do the work.
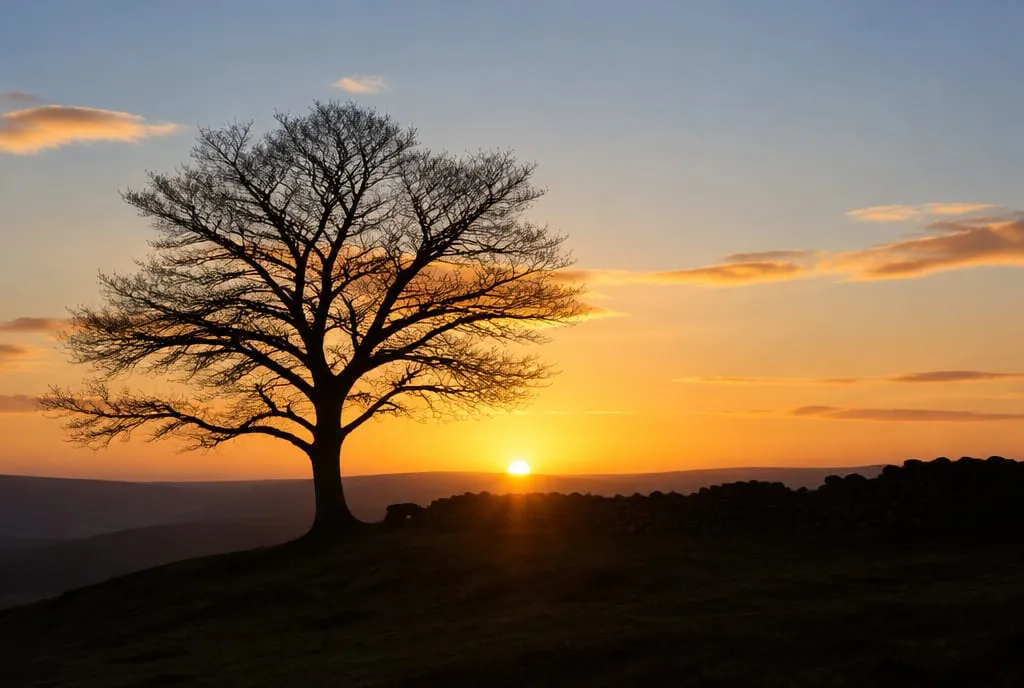 Silhouette: you expose for the sky and the subject becomes a shape. The tree’s outline stays readable because its branches do not overlap the wall. Image generated to illustrate the concept, not a shot of a real place.
- Put the subject between you and the light. Pick your spot, then wait for the subject (or someone walking by) to overlap the brightest part of the scene, as dPS describes.
- Choose a recognizable shape. A silhouette works when the outline tells you something: a tree with separated branches, a person in profile, an animal. A pile of overlapping shapes reads as a blob.
- Meter on the sky beside the sun, not on the sun’s disc, and shoot in manual or aperture priority with exposure compensation.
- Check the histogram. For a silhouette it is normal, and intended, for much of the data to sit on the left. What you must avoid is large areas of sky touching the right edge.
- Shoot RAW. It gives you room to adjust the sky colors without degrading the image.
How do you expose to keep detail on the subject?
Meter on the shaded part of the subject and accept that the background gets very bright. Click Magazine suggests spot metering on a shaded area of the face and then adding half a stop to a full stop of light: it is a starting point, not a recipe.
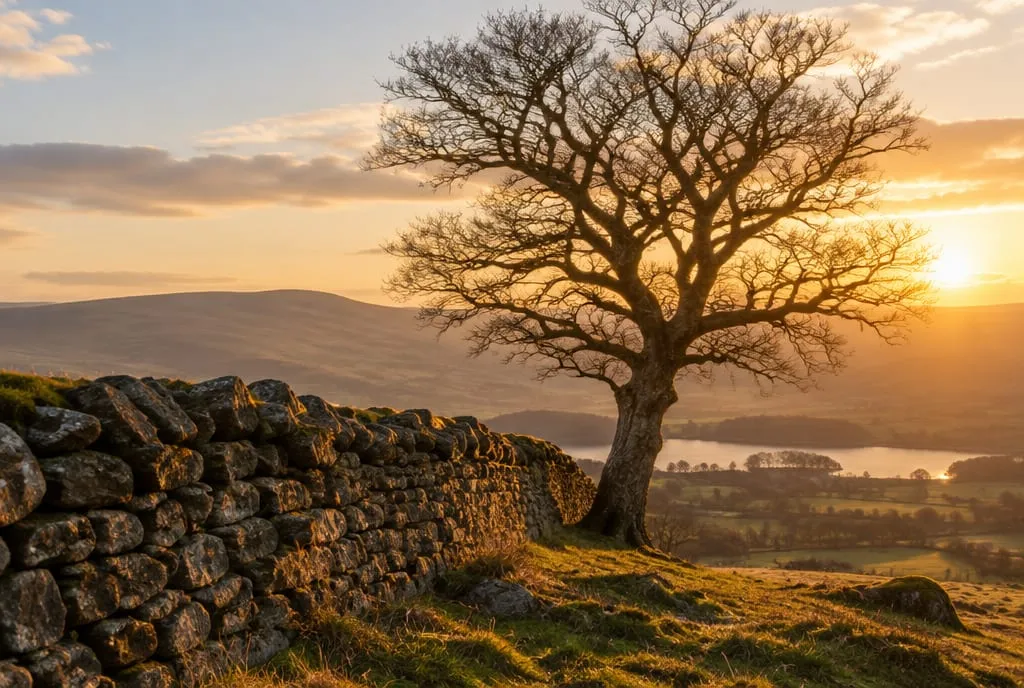 Subject with detail: trunk and stones stay readable and the sky is bright but still graded. This is the hardest compromise to get in a single exposure. Image generated to illustrate the concept, not a shot of a real place.
- Switch to spot metering and aim at the shaded part of the subject, not the single darkest spot.
- Lock the exposure and recompose. If your camera allows it, lock the reading (AE-L) before moving the framing.
- Shoot, then check the histogram and the clipping warning. If the sky you care about is blown, lower the compensation by a third or two thirds of a stop and try again.
- Bring the sky back in post. With RAW you can pull highlights down and recover some detail, as long as it is not pure white.
- If the subject is a person, use face priority when your camera has it: Sony points to it as a way to get a correct face exposure against strong backlight.
A rule for doubtful cases: blown highlights cannot be recovered, shadows mostly can. If you are unsure, err toward the shadow side; the price is some noise when you lift a dark area a lot.
How do you keep detail in both subject and sky?
Reduce the difference in light: brighten the subject, darken the background, or combine several frames. All three are more work than a single exposure.
- A reflector or a light surface. A light surface behind you bounces light onto the subject: Click Magazine mentions pavements, water, the surf, buildings, even a white shirt. You need bright space behind you: if you stand deep in shade there is nothing to bounce.
- Fill flash. With a background much brighter than the subject, Sony recommends fill flash. The method: base ISO, shutter at the flash sync speed (usually 1/125–1/250 s) and an aperture small enough to keep the sky’s detail; the camera exposure sets the background, the flash lights the subject. For faster shutter speeds you need high-speed sync (HSS), with less flash power available.
- Filter the light. Trees, shrubs or tall grass between you and the sun tone down the background and reduce blown highlights, and they add depth.
- Several frames. Bracketing (different exposures of the same scene) lets you blend the best part of each: handy with still subjects, less so with people or animals that move.
How do you handle the sun inside the frame?
You have two options: hide it or make it part of the picture. The sun in frame creates flare and haze; either way the sun’s disc will almost certainly be blown out, and that is fine.
To hide it: put it behind the subject, a branch or an edge. Click Magazine shows that moving or zooming until the sun is excluded removes the haze but keeps the rim light. A lens hood and a clean lens also help reduce flare.
To use it: tuck part of it behind an edge and stop down. For a sun star the sources give different values: dPS mentions f/8–f/11, Sony gives f/16 as its example; the lens matters too, so test. Sony adds a useful detail: the number of rays depends on the aperture blades. An even number of blades gives the same number of rays; an odd number gives double (11 blades, 22 rays).
How do you focus in backlight?
On a high-contrast edge, because a shaded subject against a bright background gives autofocus little to read. Click Magazine advises looking for areas of contrast to focus confidently. If autofocus hunts, aim at an edge (the hairline, the outline of a leaf), lock focus and recompose, or switch to manual focus. Then zoom in on the preview to check.
When is backlight a good idea, and when is it not?
It is a good idea when you want mood, shape and edge light, not when you must document. According to dPS it is dramatic light, great for silhouettes, glowing edges and blurred backgrounds, but less suited to documentary shots of architecture, products or wildlife, where front or side light gives more detail.
- Yes: translucent leaves and blades of grass, trees and shapes at sunrise or sunset, portraits with a halo of hair, mist lit from behind.
- No: when you must document a building, a product or an animal and need the detail; when the sun is high; when you cannot add light to the subject and the background is much brighter.
The best moment is usually with the sun low: read golden hour photography to see when it arrives, and blue hour photography for the sky after sunset, when the light is much softer. If your problem is the hard light of a high sun, see also hard vs soft light.
How does Framia evaluate this?
Light is one of Framia’s six categories, alongside composition, optics, color, storytelling and technique. You get a score from 0 to 100 with an explanation of what works and what does not. For a backlit shot it is a useful second opinion on whether your choice between silhouette and detail actually reads as a choice.
What to do next
A half-hour exercise with the sun low: same scene, three exposures, to see with your own eyes what you protect each time.
- Find a subject with the low sun behind it: a tree, a plant, a friend who helps. Fix your framing.
- Take three photos, all in RAW. A: spot meter on the sky next to the sun. B: normal metering, no correction. C: spot meter on the shaded side of the subject.
- Check each histogram. Usually in A the data piles up on the left (dark subject, rich sky), in C toward the right (bright sky, maybe blown), while B depends on your camera.
- At home, lift the shadows of A and pull down the highlights of C. Which edit costs more quality?
- Write one sentence for each: what you protected and what you lost. Pick the photo that tells the scene best, then repeat the exercise with another subject.
For an outside opinion, upload your favorite to Framia and look at the light score. To see how a photo is judged across every criterion, read how to tell if a photo is good.
FAQ
How much should I overexpose in backlight?
There is no fixed number. The guides we read suggest half a stop to a full stop more when you meter on the subject, but it depends on how bright the background is. Treat it as a starting point, shoot, check the histogram and adjust: if the highlights you care about touch the right edge, you have gone too far.
Is spot or evaluative metering better in backlight?
Spot is more predictable, because it reads only the point you choose: the shaded side of the subject to keep detail, or the sky next to the sun for a silhouette. Evaluative (matrix) metering weighs background and subject together and gives less consistent results; if you use it, check every frame and correct with exposure compensation.
Does backlight work at midday?
It is hard. With the sun high it is awkward to put the subject between you and the light without framing the sky badly, and overhead light carves shadows under noses and brows. Backlight works best with the sun low near the horizon, where you can place the subject between you and the sun.
Why do my backlit photos look hazy and low in contrast?
Usually because the sun, or another very bright light, is shining into the lens: light scatters inside the optics and lifts the blacks, so contrast drops. Hide the sun behind the subject or an edge, shift your position slightly, shade the lens with a hood or your hand and clean the front element.
Can I shoot backlit photos on a smartphone?
Yes, with the same principles. Tap on the subject to meter for it and, if your camera app allows, use the exposure slider to keep the sky under control. The decision stays the same: protect the sky for a silhouette, or protect the subject to keep its detail.